If you're just getting started with Stable Diffusion, you might be wondering why your images aren't as good as the ones you see online.
That was me, for a long time. Initially, I thought my prompts were the problem. So I learned how to improve my prompts, and then enhance the image with LoRAs and textual inversions.
At one point however, I discovered all I had to do was tweak a few settings to get drastically improved images.
This guide will cover all of the basic Stable Diffusion settings, and provide recommendations for each.
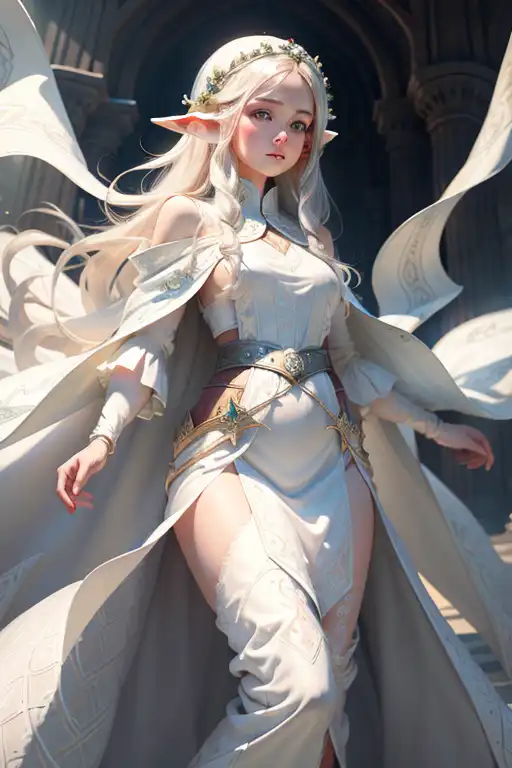
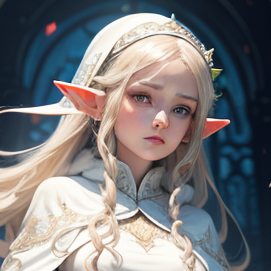
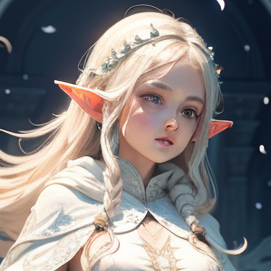
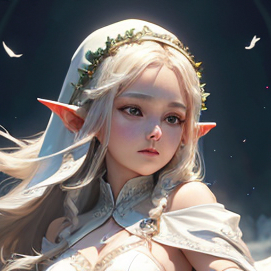
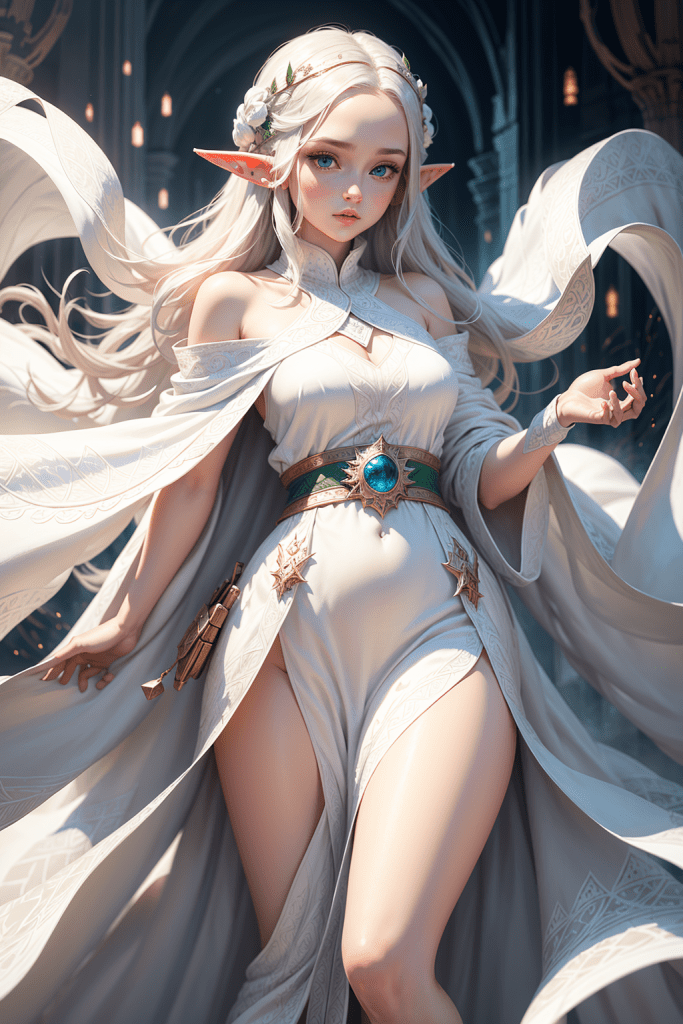
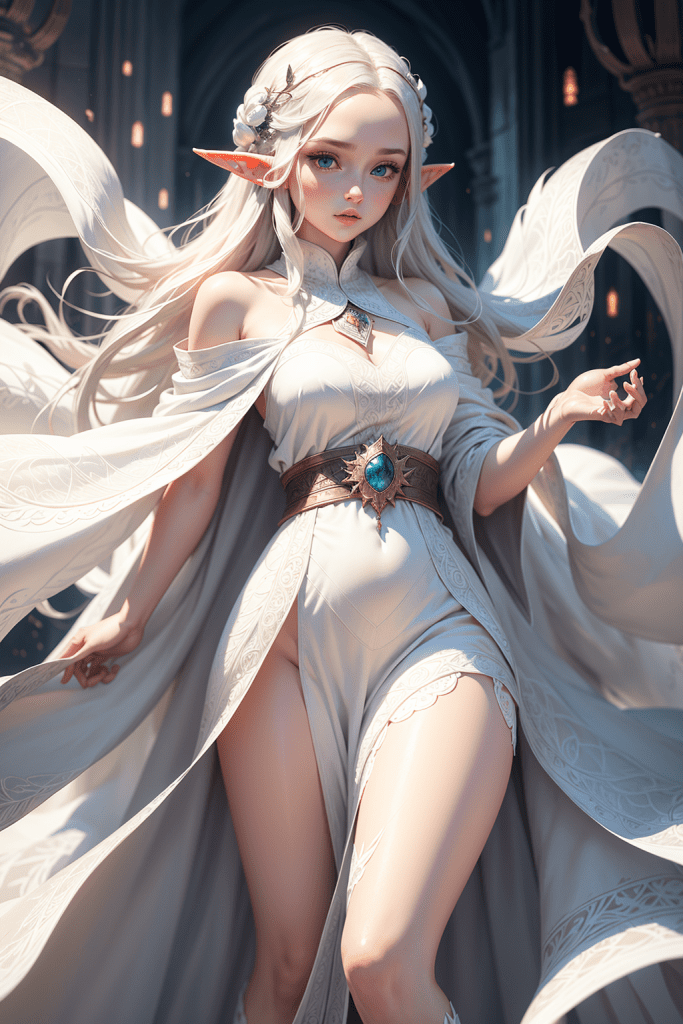
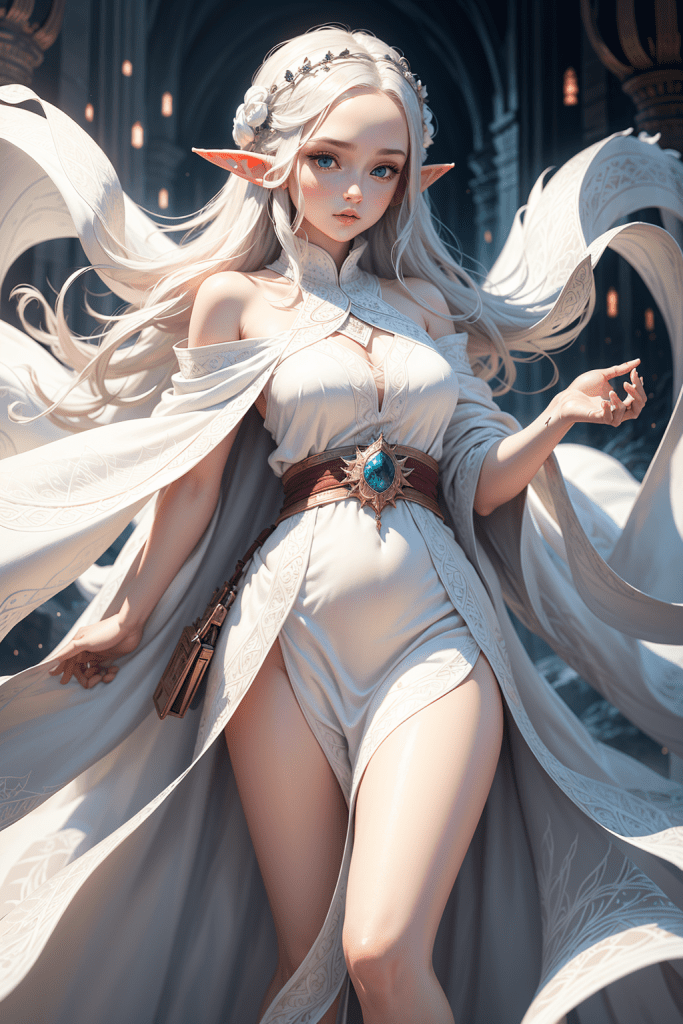
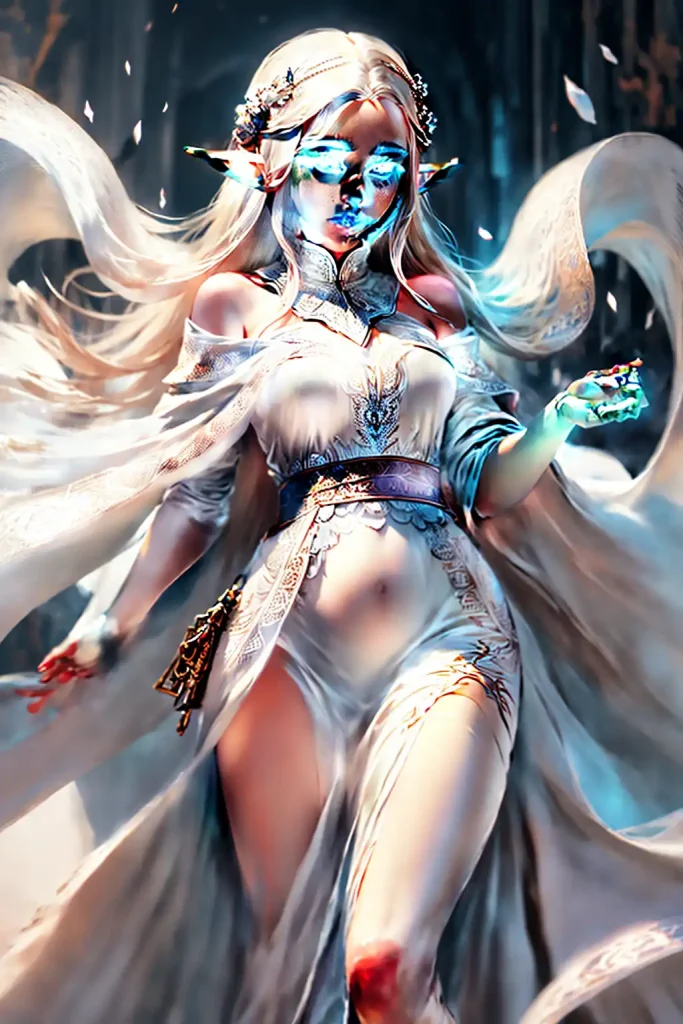
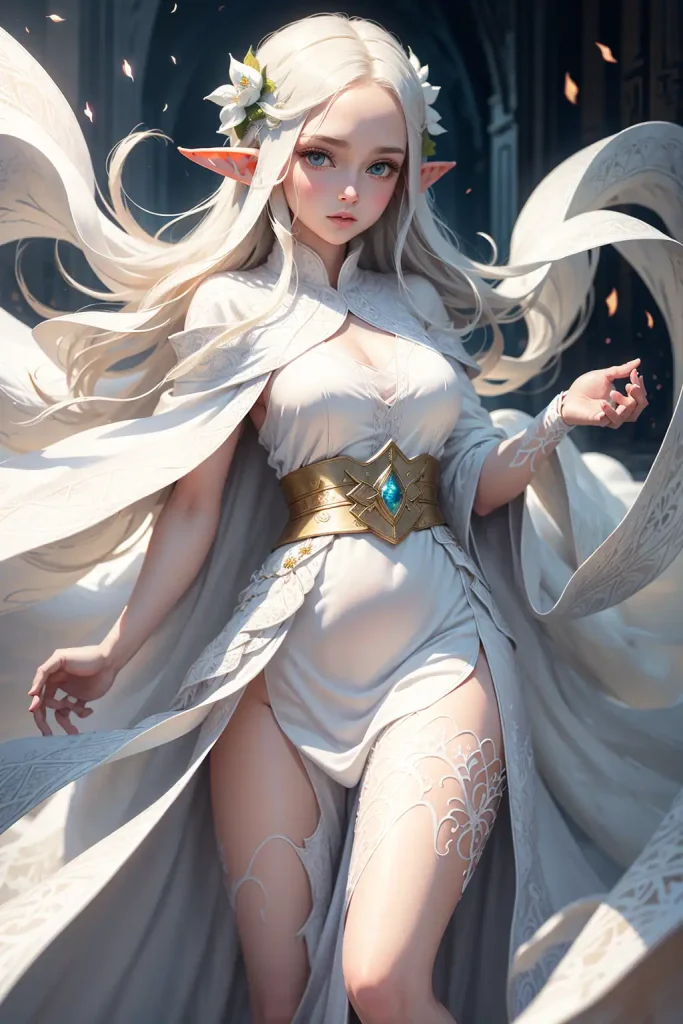
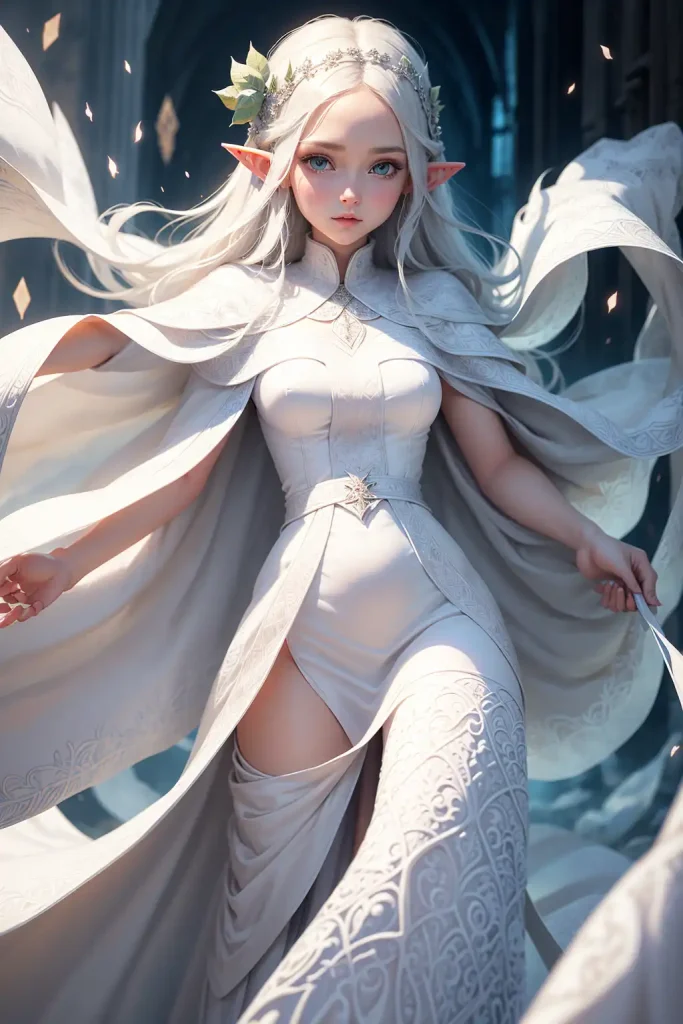
As an example, we'll use the same image and apply various settings to it.
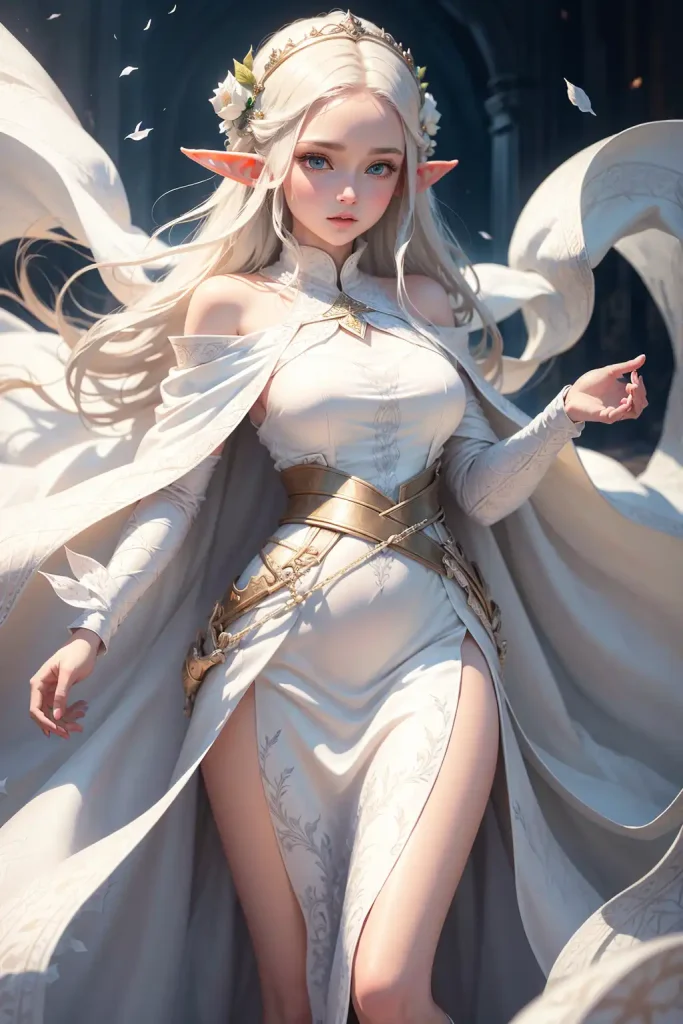
By the end of this guide, you'll be able to go from the left to the right image:

Key Takeaways
- The greatest impact setting you'll use is the Hires. fix checkbox. This is most likely why your generation doesn't look as good as the ones you see online. This will upscale your images and increase the quality a lot.
- For sampling method: I recommend DPM++ 2M Karras as a general-purpose sampler
- For sampling steps: You can use lower sampler steps (20-30) with the Euler a sampler, but most samplers require slightly more steps (30-40) for best results.
Following Along
You should already have AUTOMATIC1111 installed (NVIDIA instructions / AMD instructions / Mac instructions / Google Colab instructions).
This guide will use the ReV Animated model.
I've chosen this model because it's very versatile, and the lessons taken from this model will be broadly applicable to most models.
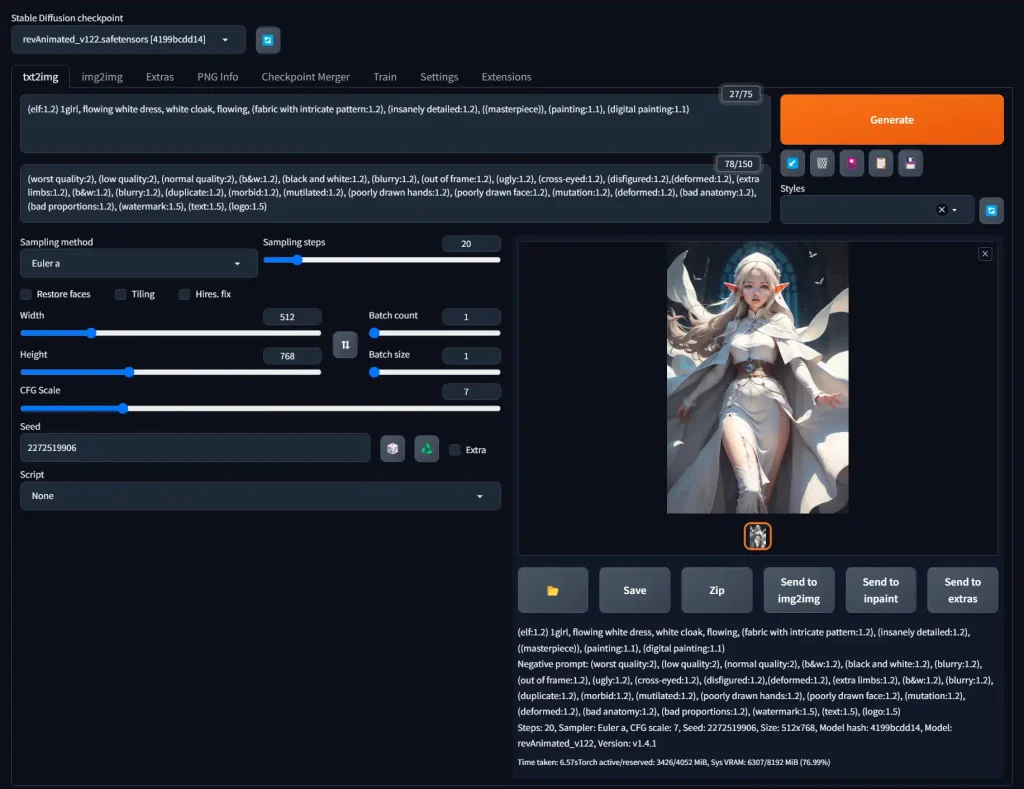
To follow along with my examples, here are the prompts and settings I'm using:
(elf:1.2) 1girl, flowing white dress, white cloak, flowing, (fabric with intricate pattern:1.2), (insanely detailed:1.2), ((masterpiece)), (painting:1.1), (digital painting:1.1)
Negative prompt: (worst quality:2), (low quality:2), (normal quality:2), (b&w:1.2), (black and white:1.2), (blurry:1.2), (out of frame:1.2), (ugly:1.2), (cross-eyed:1.2), (disfigured:1.2),(deformed:1.2), (extra limbs:1.2), (b&w:1.2), (blurry:1.2), (duplicate:1.2), (morbid:1.2), (mutilated:1.2), (poorly drawn hands:1.2), (poorly drawn face:1.2), (mutation:1.2), (deformed:1.2), (bad anatomy:1.2), (bad proportions:1.2), (watermark:1.5), (text:1.5), (logo:1.5)
Steps: 20, Sampler: Euler a, CFG scale: 7, Seed: 2272519906, Size: 512x768, Model hash: 4199bcdd14, Model: revAnimated_v122, Version: v1.4.1
I won't go into detail about prompts in this guide. If you're curious to what things like "(elf:1.2)" do, take a look at the prompting guide.
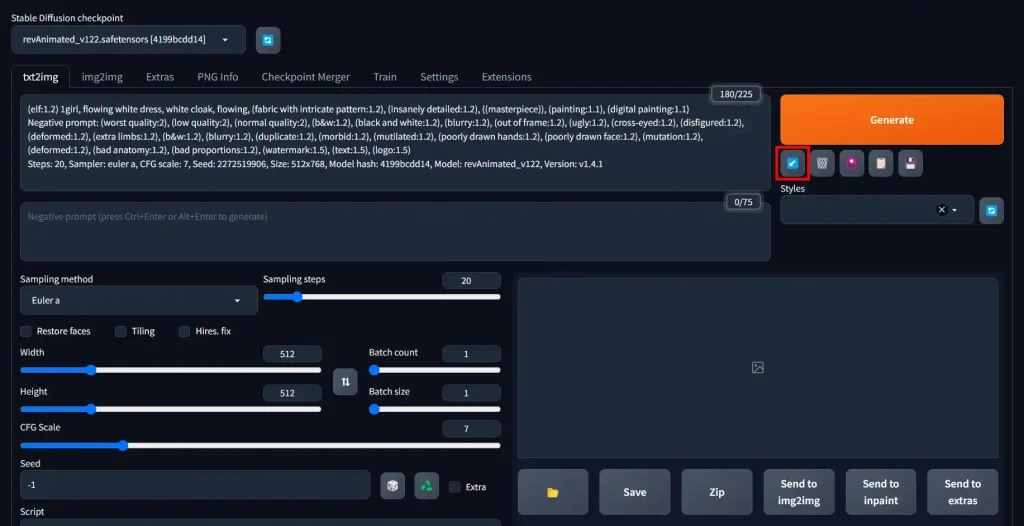
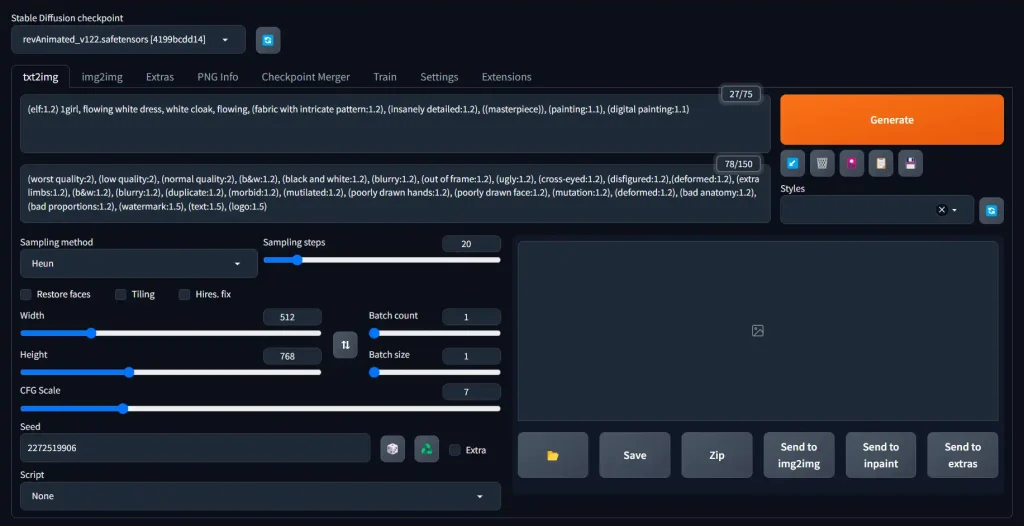
How to copy these settings:
If you copy the whole block above and paste it into the AUTOMATIC1111 Prompt field, then click the arrow pointing downwards under the Generate button, AUTOMATIC1111 will read the settings in your prompt and apply them to the interface
There's a lot of ground to cover, so let's get started!
Seed
We'll start with the Seed setting, even though it's located at the bottom of the settings.
The seed is what lets you keep your images consistent across multiple generations.
It determines the random latent "noise" image your generation uses as a starting point.
If 2 generations share the same seed and same settings, they will come out exactly the same.
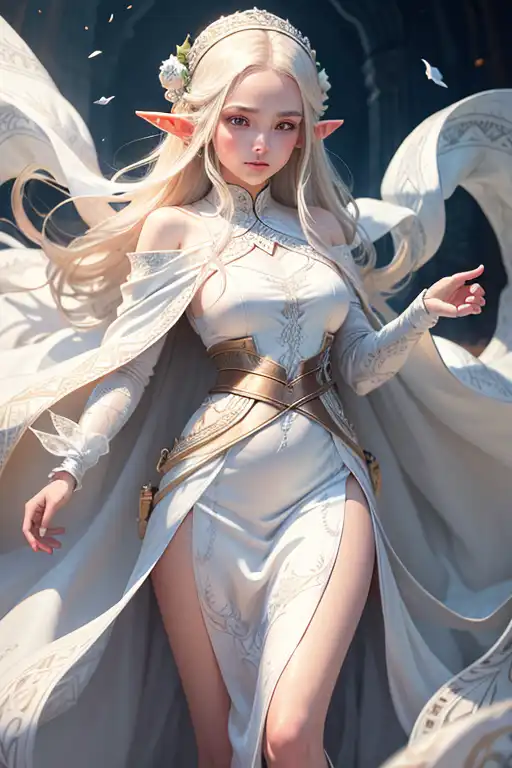
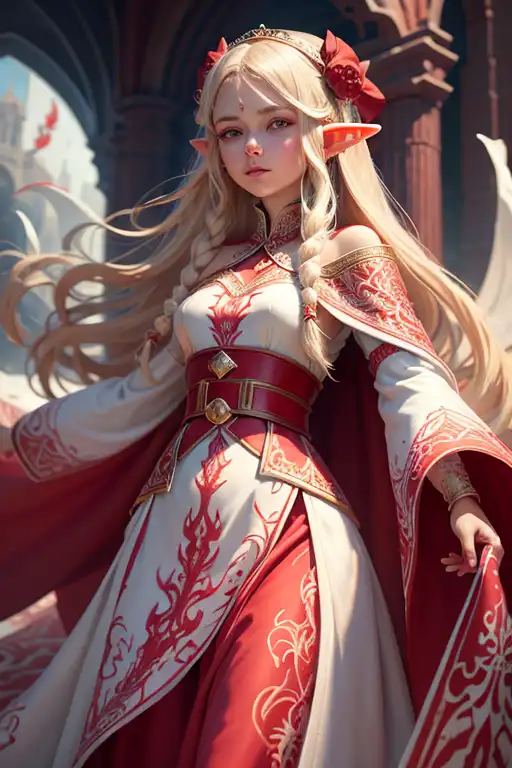
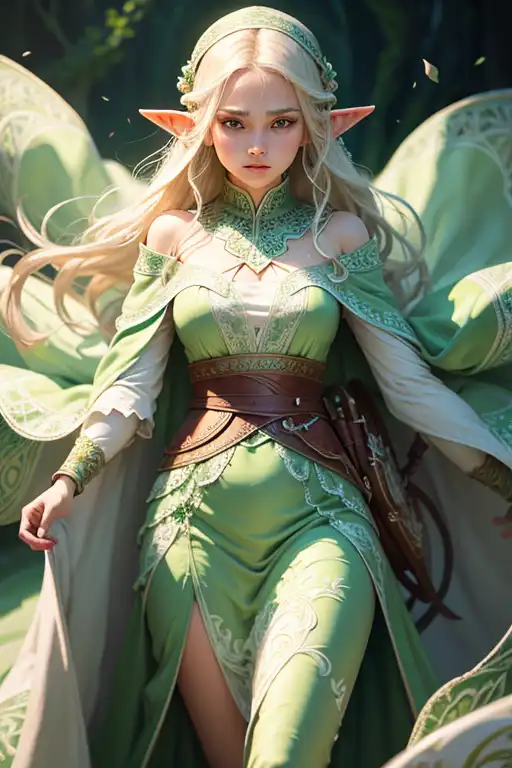
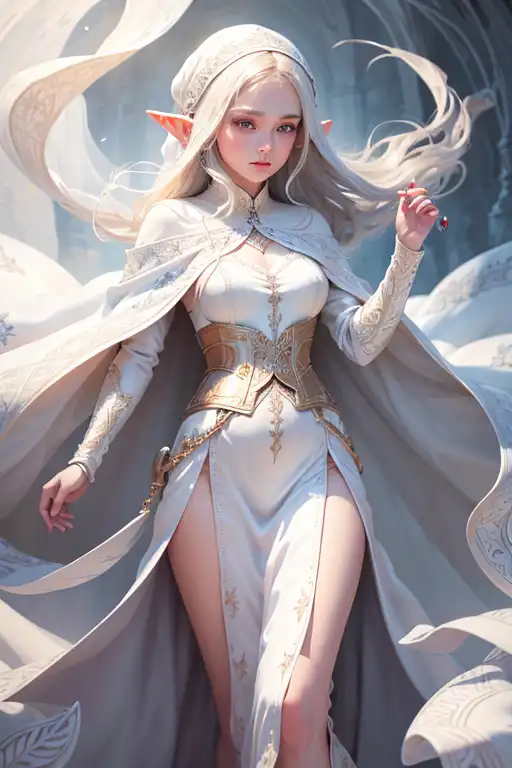
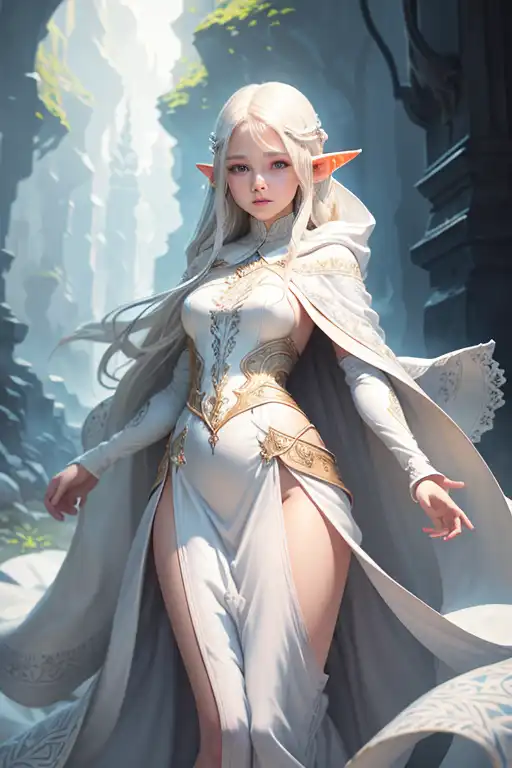
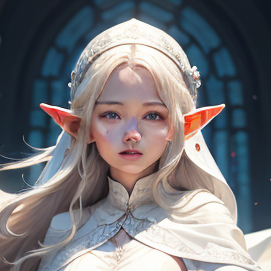
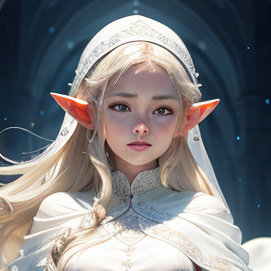
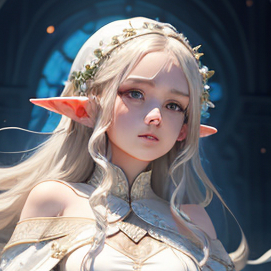
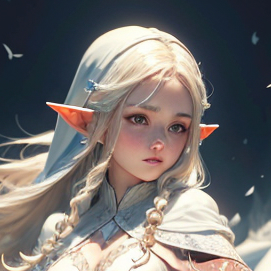
A common technique is to keep the seed the same but tweak the prompt and settings, so you can see the effects of only those changes. These images share the same seed with minor prompt variations:
The default value is -1, which means random. This randomizes the seed every time an image is generated.

The Dice button resets the value to -1.
The Recycle button reuses the seed of the last generation. Click on this when you arrive at a generation you like and want to experiment with. Practically, clicking this will make the seed constant because you are always using the last seed.
Recommendation: Set the seed at -1 (random), unless you have a specific reason not to. Sometimes prompts work well with some seeds and not others, so it makes sense to experiment with different seeds.
Do-it-yourself: I've went with the same seed to generate all the images in this guide so we can see the effect of invididual settings. If you want to follow along and get the same images, use the seed 2272519906.
The Extra checkbox, when checked, gives you a couple more settings:
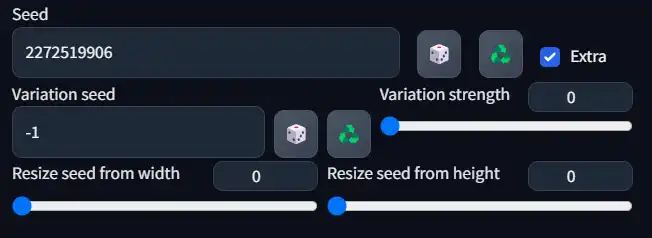
Variation Seed
Think of it as a seed within your seed. You'll use this when you're fairly happy with your image, but you still want to change it slightly.
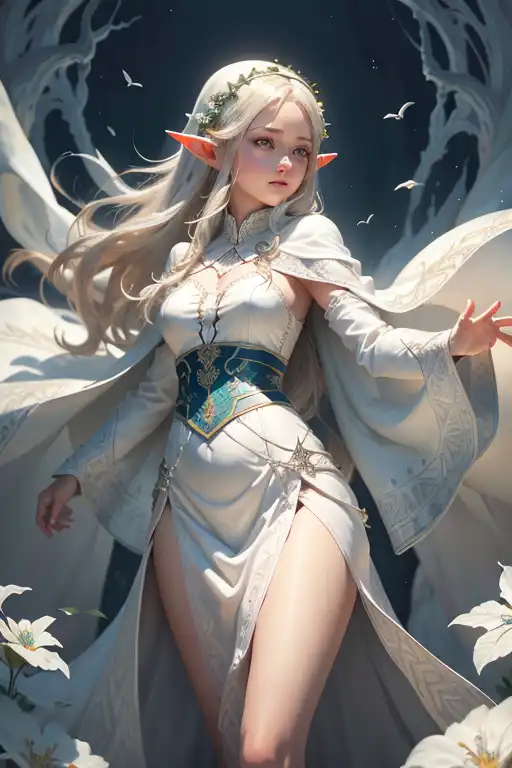
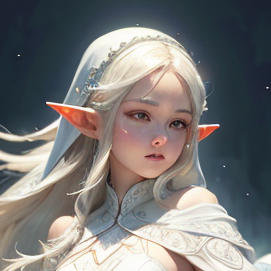
Compare these images. They all use the same seed, 2272519906. The first one does not use a variation seed, and the rest use random variation seeds:


Same as with the high-level Seed, variation seed comes with a Dice button which will set it at -1 (random every time) and a Recycle button which will reuse the last used variation seed.
Variation Strength
Sets the strength of the variation seed. The lower this is, the closer to your original image the new image will be.
The default value of 0 will be the same as not using a variation seed.

Recommendation: Use variation seeds when you really like an image but don't like a specific detail. Setting the variation seed will let you re-roll and get very similar images.
Check out the Stable Diffusion Seed Guide for more examples.
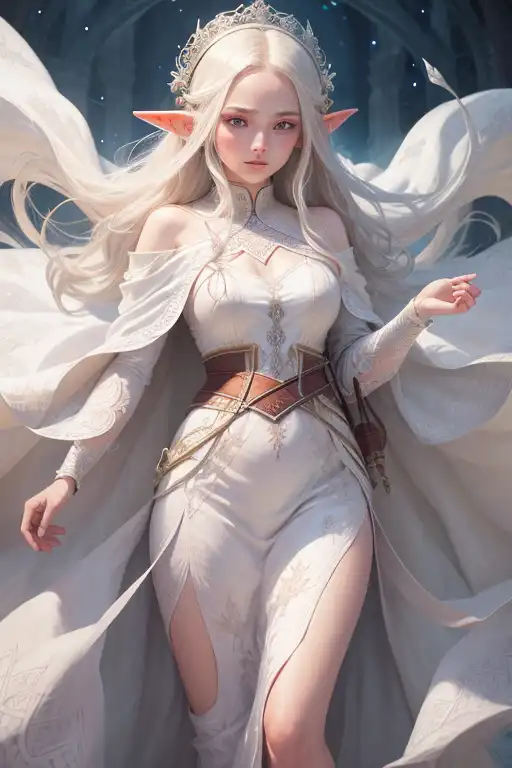
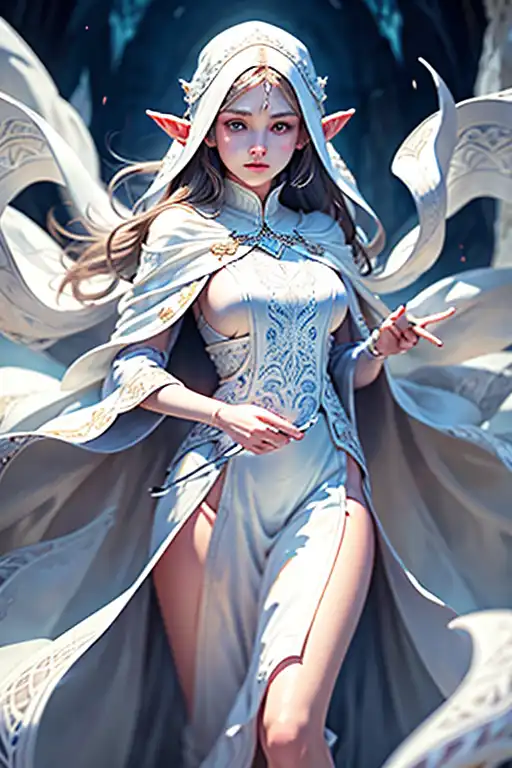
Sampling method
This is the algorithm that is used to generate your image.
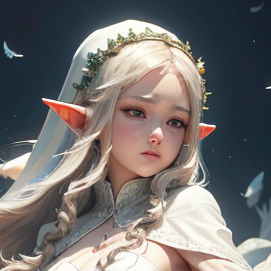
Here's the same image generated with different samplers (20 Sampling steps).
You'll notice that some samplers appear to produce higher quality results than others. This is not set-in-stone. Different samplers will work better for different prompts and models.


Recommendation: Euler a is a good sampler for prototyping, but Karras samplers can produce better results. I recommend DPM++ 2M Karras as a versatile, high quality sampler.
Sampling steps
This is the number of steps you are giving Stable Diffusion to 'draw' your image.
For a more technical explanation, see this discussion of steps.
More steps doesn't mean the image will come out better. Think of it as baking a cake. There's a perfect point to take the cake out of the oven. You don't want to go over or under.
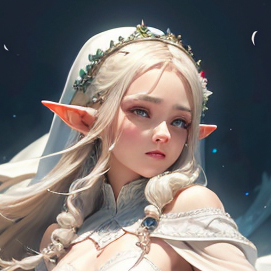
The number of optimal steps will also depend on which Sampling method you are using. Take a look at some of the images that didn't come out that great with 20 steps, when generated with higher steps:
Testing sampling steps with Euler a

The Euler a sampler works better with lower steps. In this example, I think the image comes out best as 30 and 40 steps.
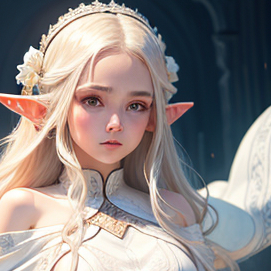
Testing sampling steps with DPM++ 2M Karras

For most other samplers, higher steps work better. I think the best one here is 35 steps.
Recommendation: 35 steps works great for most samplers.
Restore Faces
You can use this checkbox to quickly repair messed-up faces.

Recommendation: Only use this feature if you are strapped on time. Hires Fix (below) is much more powerful than Restore Faces. I don't recommend checking both Restore Faces and Hires Fix either: they don't work well together.
Tiling
This will make the image a tile, so that you can repeat it to create seamless patterns.
Unfortunately, it's completely unusable with most custom models. Even if you are using the Stable Diffusion v1.5 base model you can only use simple prompts.
Recommendation: Purchase Midjourney and use the --tile command
Hires Fix
If I could only recommend beginners a single setting, this would be it.
I think the name is a bit of a shame, because Hires Fix is upscaling. You have to check it to see the actual word "upscaler" though, and a lot of people end up missing it.
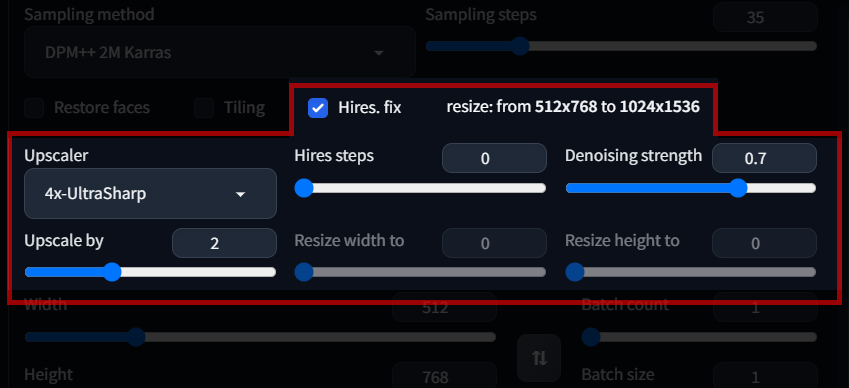
Hires Fix upscales your image according to the settings that you provide it. These are the settings:
Upscaler
AUTOMATIC1111 gives you a number of upscalers by default.
You can also download and use custom upscalers: here's a database of upscalers you can use.
I recommend the following upscalers:
- 4x-UltraSharp (download the .pth file)
- 4x_NMKD-Siax (look for the folder "NMKD Siax" and download the .pth file within)
- 4x_NMKD-Superscale (look for the folder "NMKD Superscale" and download the .pth file within)
Place these in the folder stable-diffusion-webui/models/ESRGAN and reload the UI (Reload UI button at bottom of screen) to see them in the Upscalers dropdown.
Let's take a look at our image generated with Hires Fix and different upscalers:

Recommendation: Download 4x-UltraSharp, 4x_NMKD-Siax, and 4x_NMKD-Superscale. These are general purpose upscalers that will work well with all types of content. The actual difference between these are subtle, but they each have their specific uses.
Upscale by
This is the multiple that you would like to upscale your image by.
Next to the Hires fix checkbox, there will be a label displaying the resolution of your output image.
512x768 -> Upscale by 2 -> 1024x1536
512x768 -> Upscale by 3 -> 1536x2304
512x768 -> Upscale by 4 -> 2048x3072
Upscaling is computationally expensive!
Recommendation: Start with 2x. You can really only go beyond this with a powerful GPU.
Hires steps
These are the upscaling steps that occur after your sampling steps.
Sampling steps + Hires steps = Total steps.
The default is 0, which means: use the same number as sampling steps.
If your sampling steps are 35, and you have Hires steps at 0, then you'll get 35 Hires steps for a total of 70 image steps.
Hires steps are much slower than sampling steps, which is why using Hires fix takes so much more time than an ordinary generation.
Just like sampling steps, there is a such thing as too high and too lower with Hires steps.
Take a look at these examples:

You don't get a proper result with 5 hires steps, and after 15 the results aren't any difference (if anything, the hands get worse).
Recommendation: 15 Hires steps is a good sweet spot between speed and quality. Increasing beyond this point won't benefit you too much.
Denoising strength
Think of this as the strength of the upscaler during the upscaling steps.
Setting this to 0 means the upscaler doesn't do anything, and you'll get the same result as if you hadn't used Hires fix.
The default is 0.7.
The optimal denoising strength will depend on the upscaler you're using.
Here's a comparison of different upscaling denoising strength:


Recommendation: The default of 0.7 is usually too high. Experiment with values from 0.3-0.5.
Width & Height
On to the rest of the settings.
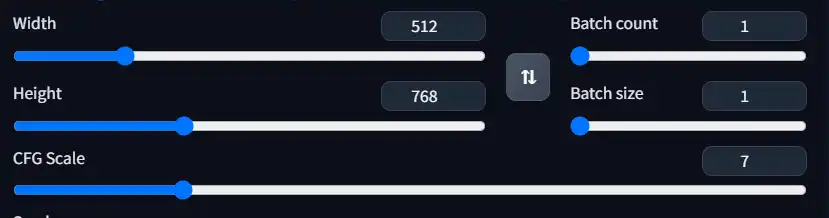
Width & height are the resolution of the image before upscaling is applied.
Recommendation: try not to get too far from 512x512 (unless you're using SDXL models, for which the default resolution is 1024x1024). Resolutions like 512x768 (3:4 aspect ratio) also work well.
Batch size & Batch count
Batch size is how many images to make per batch. This is limited by your VRAM.
Batch count is how many batches to make total.
You use both of these settings to produce more images every time you click the Generate button
batch size x batch count = total images generated
Recommendation: Increase the batch size until you max out (you will get a Command Prompt error), and then increase your batch count according, so that desired number of images = batch size x batch count.
CFG Scale
CFG Scale is how much the generation must adhere to the prompt. 0 means to completely ignore the prompt, and 30 means to adhere EXTREMELY strict to the prompt.


Recommendation: The default of 7 works fine in most cases. You can experiment within the range 4-11.
Saving Your Prompt & Settings
At the beginning of this guide, we copy and pasted a block of text and used AUTOMATIC1111 to convert it into settings and prompts.
Now how do we do the opposite?
After we've crafted the perfect prompt and settings, how can we re-use them for next time?
Option 1: Every time you generate an image, this text block is generated below your image. Copy it to your favorite word processor, and apply it the same way as before, by pasting it into the Prompt field and clicking the blue arrow button under Generate.

Option 2: Install the extension stable-diffusion-webui-state. This will preserve your settings between reloads.
Conclusion
And those are the basic Stable Diffusion settings! I hope this guide has been helpful for you. This is meant to be read as a companion to the prompting guide to help you build a foundation for bigger and better generations.
Here is the full beginner series:
Part 1: Getting Started: Overview and Installation
Part 2: Stable Diffusion Prompts Guide
Part 3: Stable Diffusion Settings Guide
Part 3: Models
Part 4: LoRAs
Part 5: Embeddings/Textual Inversions
Part 6: Inpainting
Part 7: Animation