Currently most functionality in AUTOMATIC1111's Stable Diffusion WebUI works fine on Mac M1/M2 (Apple Silicon chips).
We'll go through all the steps below, and give you prompts to test your installation with:
Step 1: Install Homebrew
Homebrew is a package manager that will allow you install all the required packages to run AUTOMATIC1111.
To check if Homebrew is currently installed, open your Terminal (Command + Spacebar, then search for "terminal") and type:
brew -vIf Homebrew is installed you will see the version number:
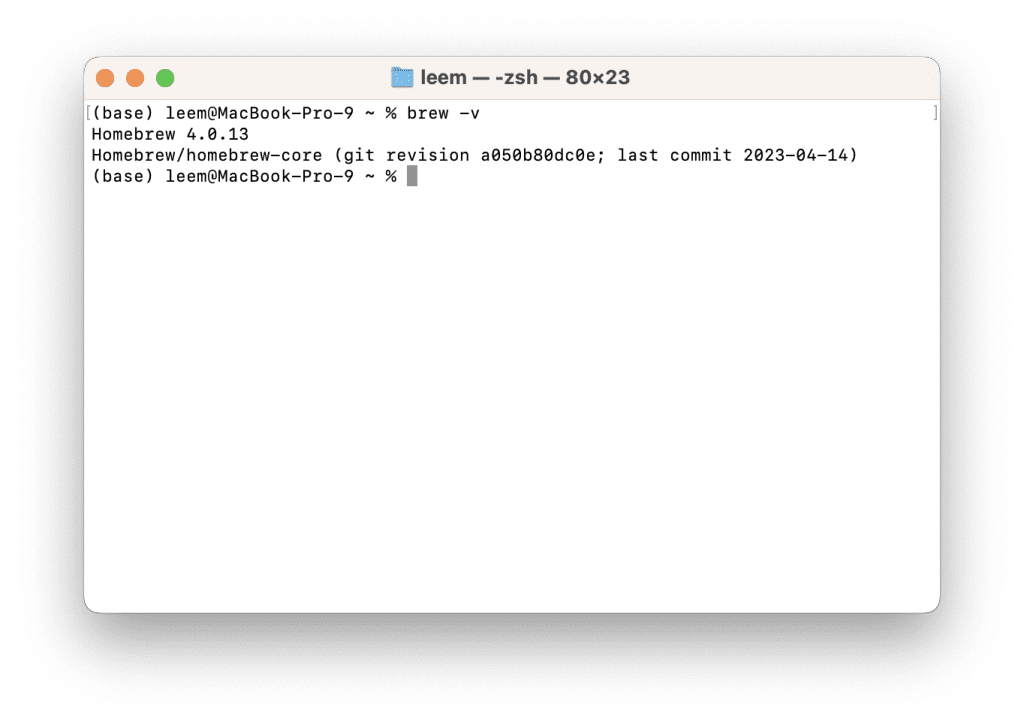
If it is not installed yet, you will see the message:
command not found: brew
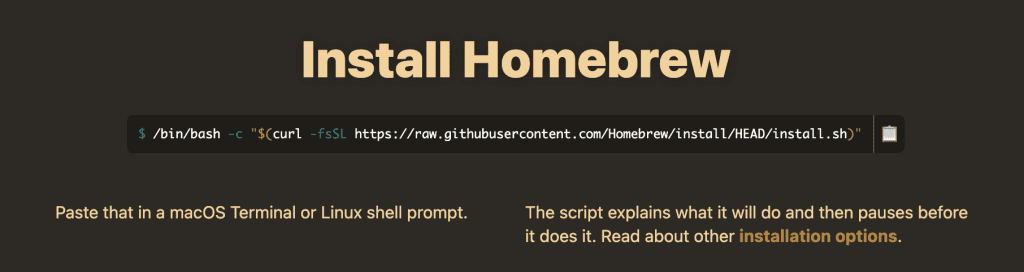
If you don't have Homebrew, go to http://brew.sh to install it, by copying the command under "Install Homebrew" and pasting it into the Terminal:
Enter your computer password if prompted "Checking for `sudo` access (which may request your password)..."
Then, press Enter when prompted:
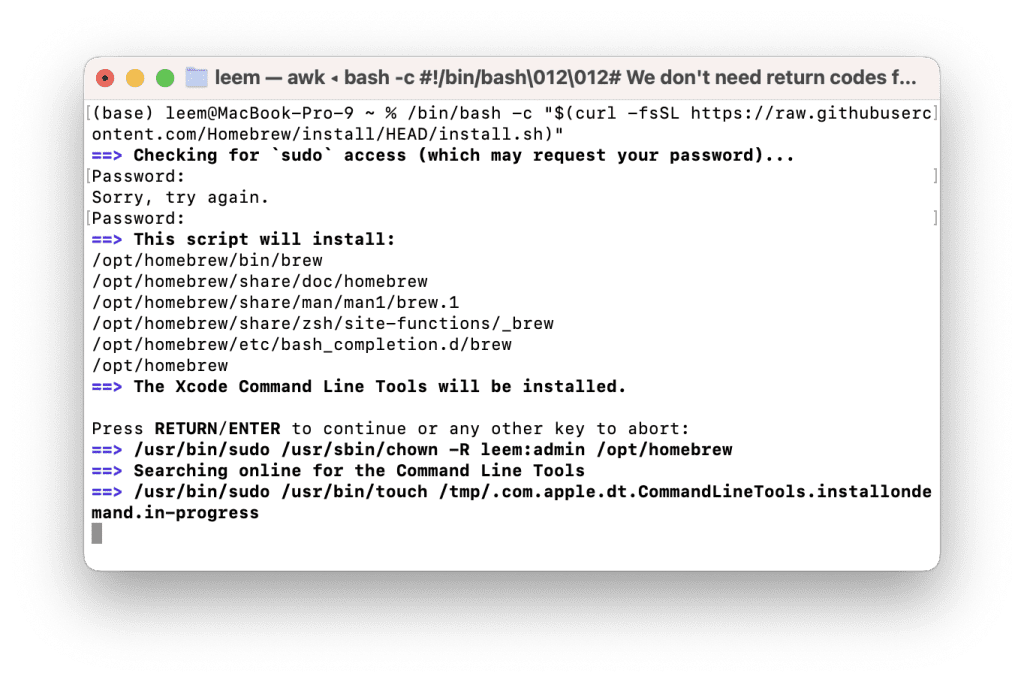
Keep the Terminal open and follow the instructions under "Next steps" to add Homebrew to your PATH.
Step 2: Install Requirements
After you've installed brew, in the terminal run:
brew install cmake protobuf rust python@3.10 git wgetWait until all packages finish downloading.
Step 3: Clone the WebUI
Navigate to where you want the folder for the WebUI to be using the Terminal.
For example, if you want to place the folder on my desktop, you would type:
cd desktopIf you haven't used the Terminal before, “cd” means change directory.
It's a common command used to move around your file system in the Terminal.
To see all the folders in your current directory that you can navigate to, type:
lsTo go back up a directory, type:
cd ..When you are in the correct folder, type:
git clone http://github.com/AUTOMATIC1111/stable-diffusion-webuiThis will create a new folder "stable-diffusion-webui" that contains the WebUI.
Step 4: Start the WebUI
Back in the Terminal, move into your new WebUI folder using:
cd stable-diffusion-webuiThen to run the WebUI (You will use this command anytime you want to start the WebUI).
./webui.shThe first time you run it, installing all the requirements might take a while.
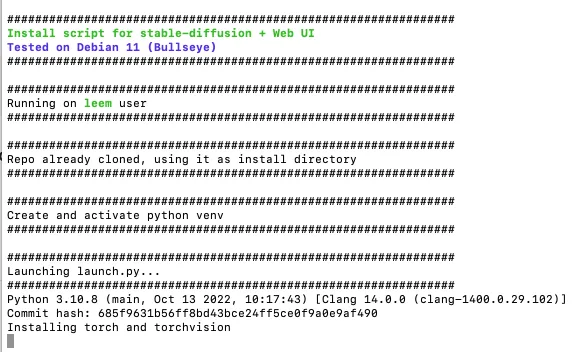
This step will also download the Stable Diffusion v1.5 model.
My stable diffusion folder, at the end of my installation (including the model file) was 6.5 GB.
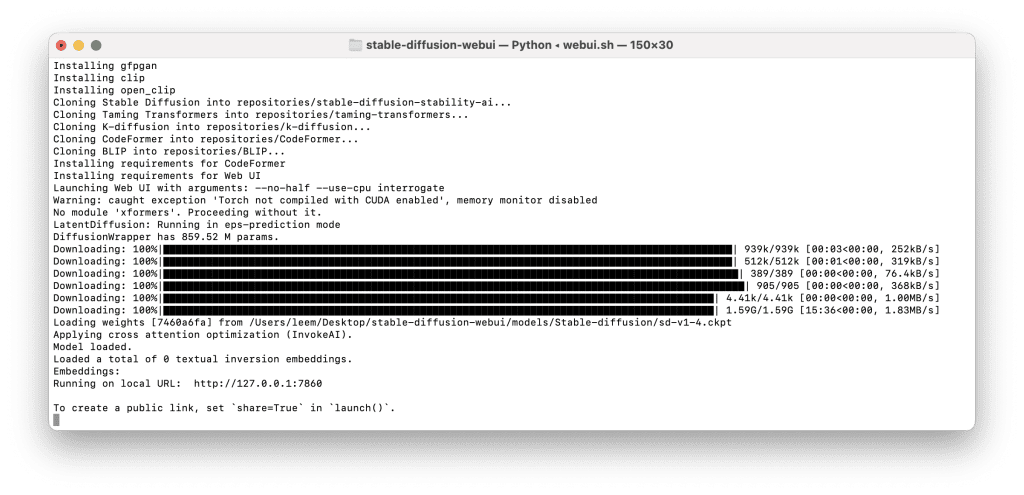
When you see the line "Running on a local URL: http://127.0.0.1:7860" your installation is complete.
Go to this address in your web browser:
Here's what your interface will look like:
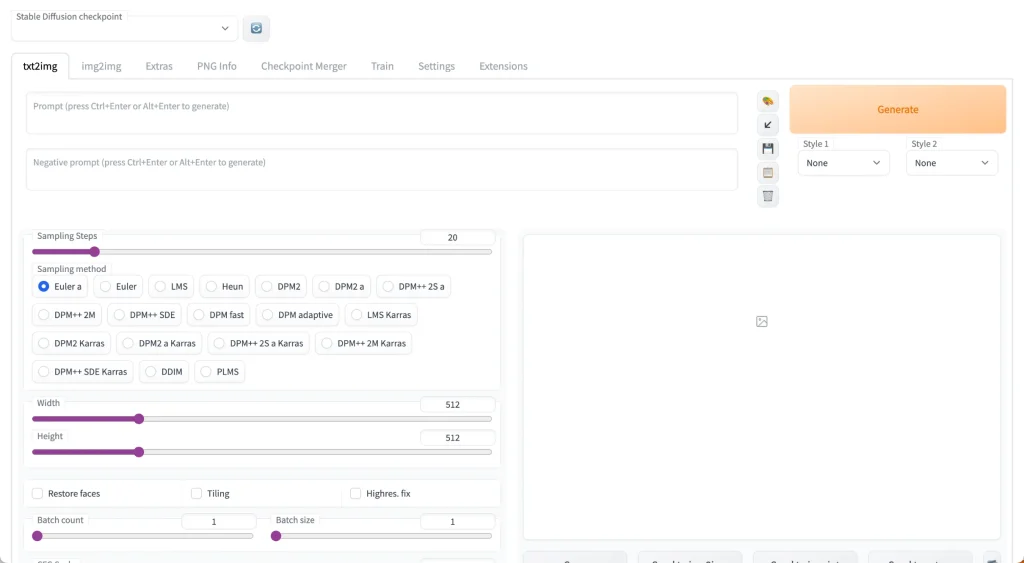
You’ll notice at the top there’s a toggle called “Stable Diffusion Checkpoint”.
You can use this to switch to any of the models you have placed in the stable-diffusion-webui/models/Stable-diffusion folder.
Step 5: Your First Prompt
For our example, we'll use Stable Diffusion v1.5 since it comes downloaded with your installation.
The filename is v1-5-pruned-emaonly.safetensors [6ce0161689].
Enter the prompt:
portrait of beautiful girl, brown hair, freckles, tshirt, professional lighting, indoor, artistic photographyNow enter the negative prompt:
lowres, bad anatomy, bad hands, text, error, missing fingers, extra digit, fewer digits, cropped, worst quality, low quality, normal quality, jpeg artifacts,signature, watermark, username, blurry, artist nameSet the height slider to 768 and keep the width at 512 to create a portrait aspect ratio suitable for people.
Set the Seed to 3463 to make sure you get the same result.
Then click Generate and wait for the magic to happen! Here’s what I got:
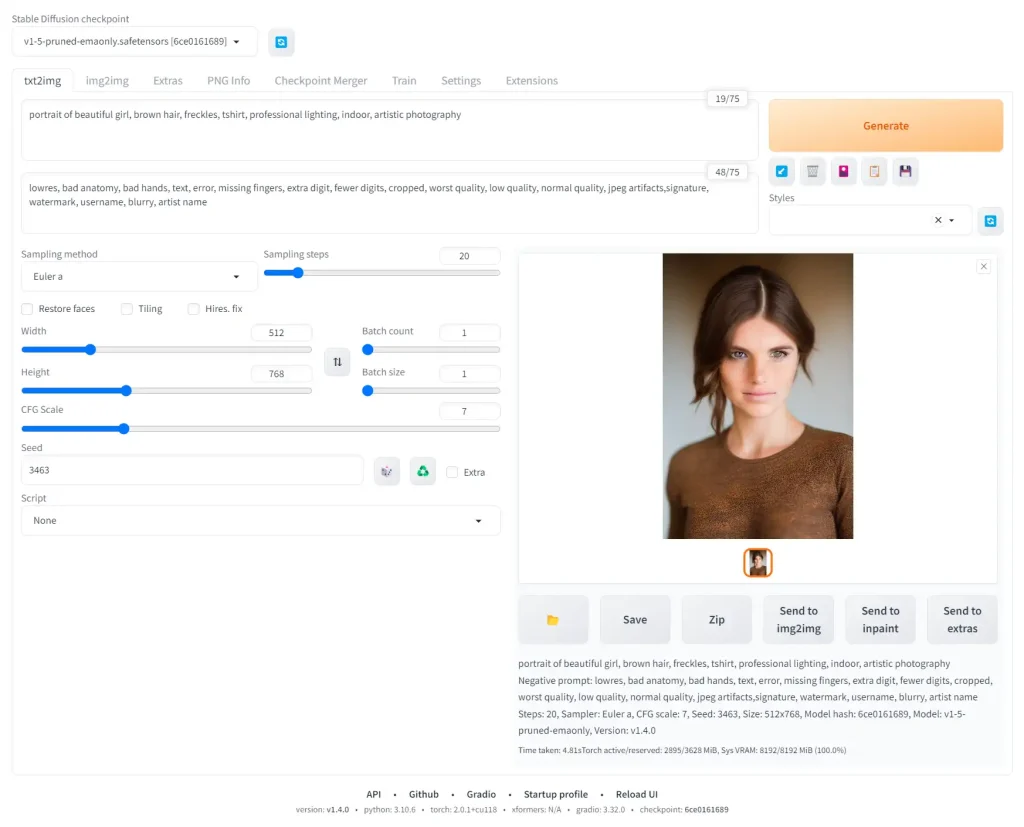

I am using the default sampler Euler a. You can play with these samplers to get an idea of what they do.
Check the official wiki for all the features that have been implemented in AUTOMATIC1111.
You can check out these basic prompts for where to get next:
Models
There's a bunch of models you can try out.
Keep in mind: there are foundational (base) models and there are custom models (fine-tunes). People call both of these "Stable Diffusion models".
After downloading models, remember to move them into the folder: stable-diffusion-webui/models/Stable-diffusion
Foundational Models
Out of the foundational models, Stable Diffusion v1.5 is the most popular.
- Stable Diffusion 1.4 (download link: sd-v1-4.ckpt)
- Stable Diffusion 1.5 (download link: v1-5-pruned-emaonly.ckpt)
Stable Diffusion 2.0 and 2.1 require both a model and a configuration file, and image width & height will need to be set to 768 or higher when generating images:
- Stable Diffusion 2.0 (download link: 768-v-ema.ckpt)
- Stable Diffusion 2.1 (download link: v2-1_768-ema-pruned.ckpt)
SDXL v1.0 has just been released. It's a massive quality improvement over previous models, however runs quite slowly on Macs. Here's the guide on running SDXL v1.0 with AUTOMATIC1111.
- SDXL v1.0 (download link: sd_xl_base_1.0.safetensors)
Custom Models
You can also a custom models. These are models that are created by training the foundational models on additional data:
Next Steps
From here, the sky is the limit!
I recommend going through the rest of the Stable Diffusion for Beginners series:
Part 1: Getting Started: Overview and Installation
Part 2: Stable Diffusion Prompts Guide
Part 3: Stable Diffusion Settings Guide
Part 3: Models
Part 4: LoRAs
Part 5: Embeddings/Textual Inversions
Part 6: Inpainting
Part 7: Animation
Troubleshooting
Python errors are some of the most common to come up during the installation. Many will be solved uninstalling and reinstalling a clean version of Python.
If you see this error then you need to install the Xcode command line tools.
Run this command in the terminal:
xcode-select --install


hello, i have this error:
RuntimeError: “LayerNormKernelImpl” not implemented for ‘Half’
any idea how to solve it?
Hey Angel, try this:
Open webui-user.bat with Notepad.
Edit it to add “–precision full –no-half” to the COMMANDLINE_ARGS.
The last 2 lines of webui-user.bat should look like this:
set COMMANDLINE_ARGS= –precision full –no-half
Save the file.
Relaunch and see if this fixes the problem.
It appears that –no-half is deprecated, and there are now better options for Macs:
http://github.com/AUTOMATIC1111/stable-diffusion-webui/discussions/7453
Thank you Jeff. I will add this solution to the article.
I did it but still got the same problem. is there anything else i can try?
If you get the error: xcrun: error: invalid active developer path
Then you need to install the Xcode command line tools.
Run this command in the terminal:
xcode-select –install
The website has combined two dashes to one emdash, which is not correct. The command is
xcode-select –install
but if the website has formatted “–install” as one long dash followed by the word ‘install,’ replace the long dash (–) with two short dashes (-)
Hey Grant, thank you for the helpful comment. I’ll add a section about this in the article.
Thank you for these very simple to follow instructions!
Hey Steak, glad you found them useful!
I totally agree. Thank you so much! Please continue to share value and make a difference. You’re doing awesome. Much love, brother.
Now please make a guide how to install ControlNet on Apple Silicon. It doesn’t work by default
It’s a good topic and we’ve put it on the to-dos.
Thanks, this was incredibly helpful! How do I go in and add more models from CivitAI as I move forward? I’ve downloaded the ckpt files into the models folder but can’t seem to see them in Stable Diffusion Automatic1111?
Never-mind! I found the refresh button. Duh!
Cheers Dissonant. Glad it’s working!
Thank you for these straightforward instructions – really useful!
I also am getting the following:
RuntimeError: “LayerNormKernelImpl” not implemented for ‘Half’
I’ve edited webui-user.bat to contain the following:
set COMMANDLINE_ARGS= –precision full –no-half
but am still getting the same error. Do you have any ideas how to solve this:
We don’t stop and thank enough for kind acts such this nice written and useful article. thanks
Thank you Jay.