On July 22, 2033, StabilityAI released the highly anticipated SDXL v1.0, just a week after the release of the SDXL testing version, v0.9.
The 2 most popular ways to run SDXL locally (on your own computer) are:
- AUTOMATIC1111's Stable Diffusion WebUI: The most popular WebUI overall, has the most features and extensions, easiest to learn. This is what we'll be covering in this guide.
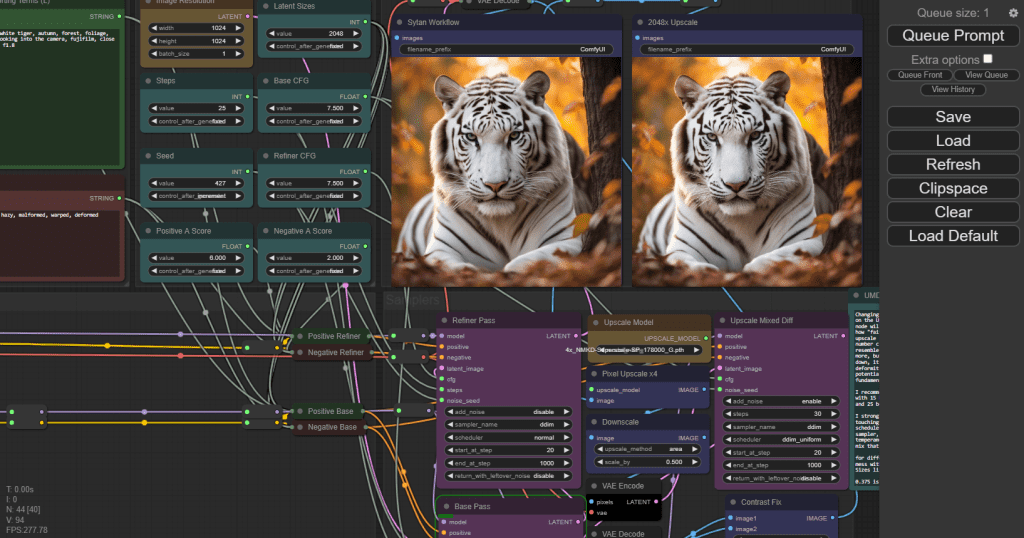
- ComfyUI: Harder to learn, node based interface
- very fast generations, generating anywhere from 5-10x faster than AUTOMATIC1111.
- Lets you use two different positive prompts.
- Here's the guide to running SDXL with ComfyUI.
In this guide, we'll show you how to use the SDXL v1.0 base and refiner models with AUTOMATIC1111's Stable Diffusion WebUI.
We'll also cover the optimal settings for SDXL, which are a bit different from those of Stable Diffusion v1.5.
We'll also feature some popular LoRAs and custom checkpoint models trained from SDXL.
If you're already set up, check out these fantastic prompts for SDXL v1.0.
What's new in SDXL?
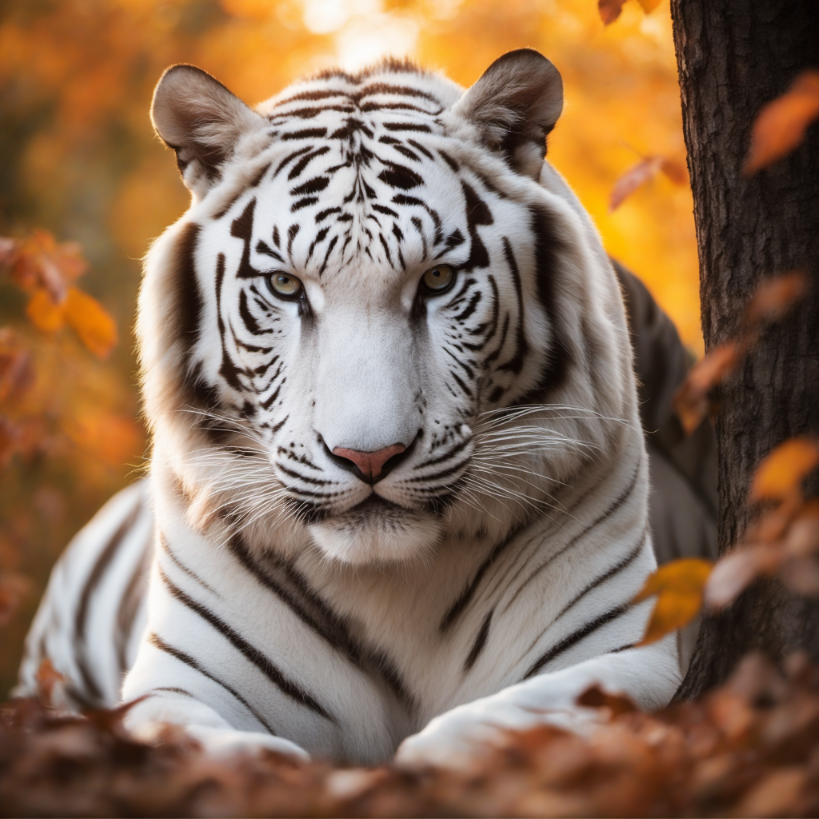
Extremely high quality: SDXL v1.0 is huge step up from SD v1.5 and SD v2.1 (and even a big upgrade from the test version SDXL v0.9!)
StabilityAI reported that blind testers rated images to be best in overall quality and aesthetics across a variety of styles, concepts, and categories.
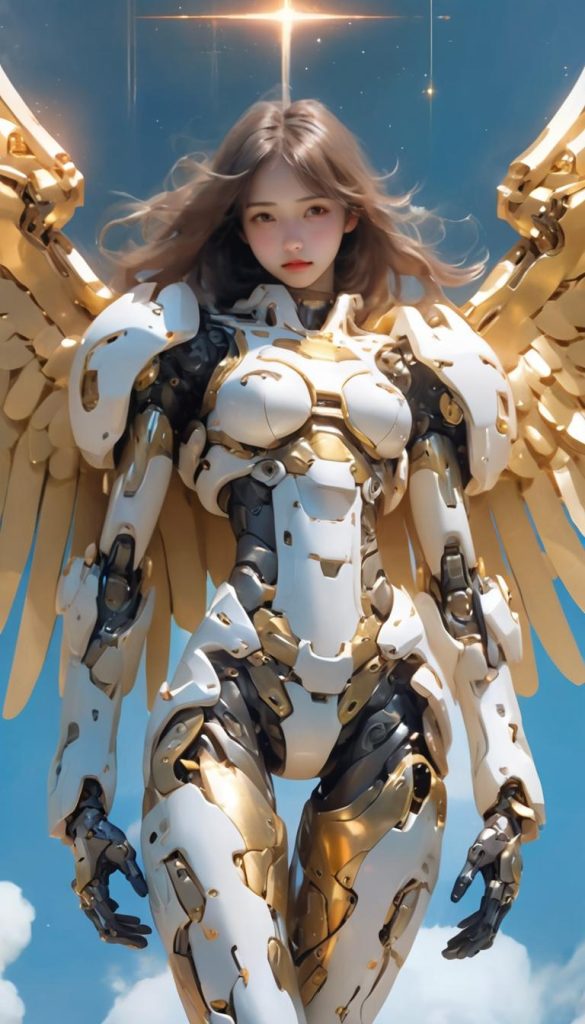
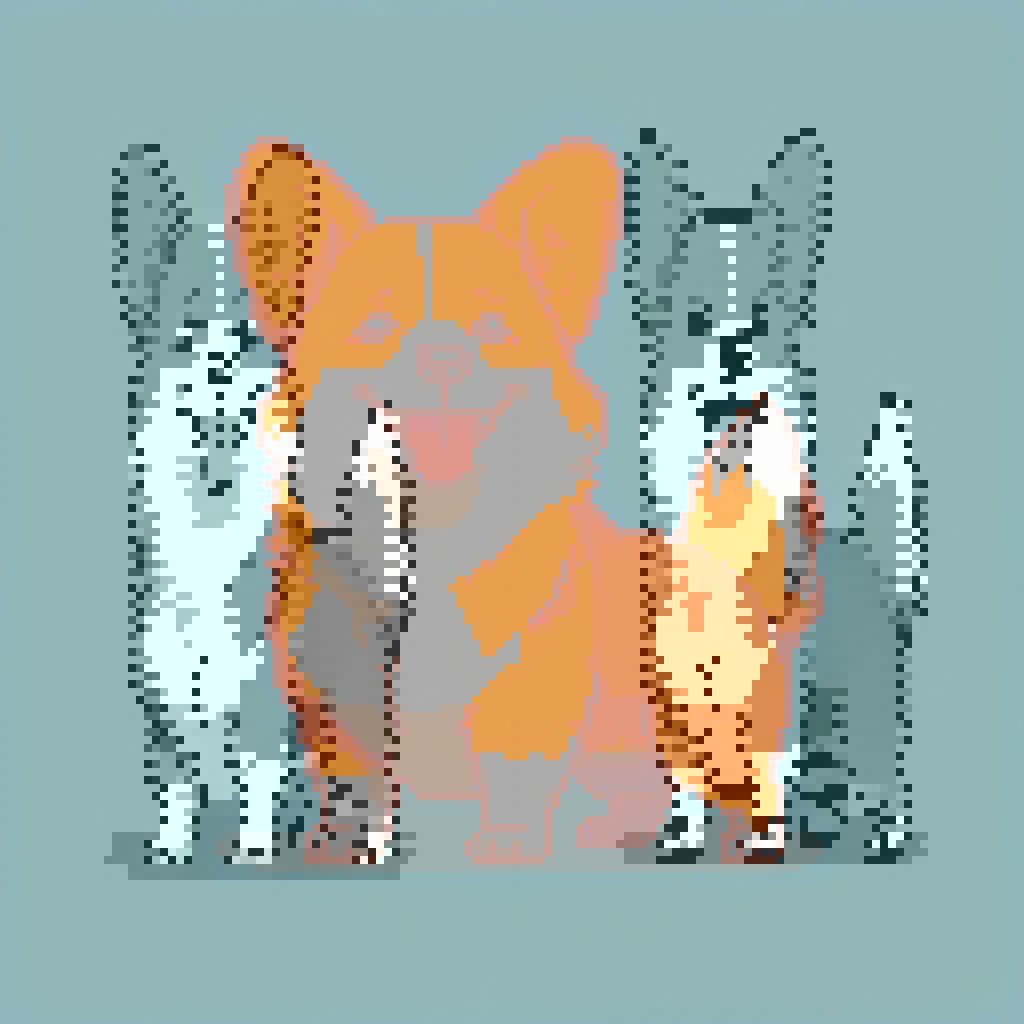
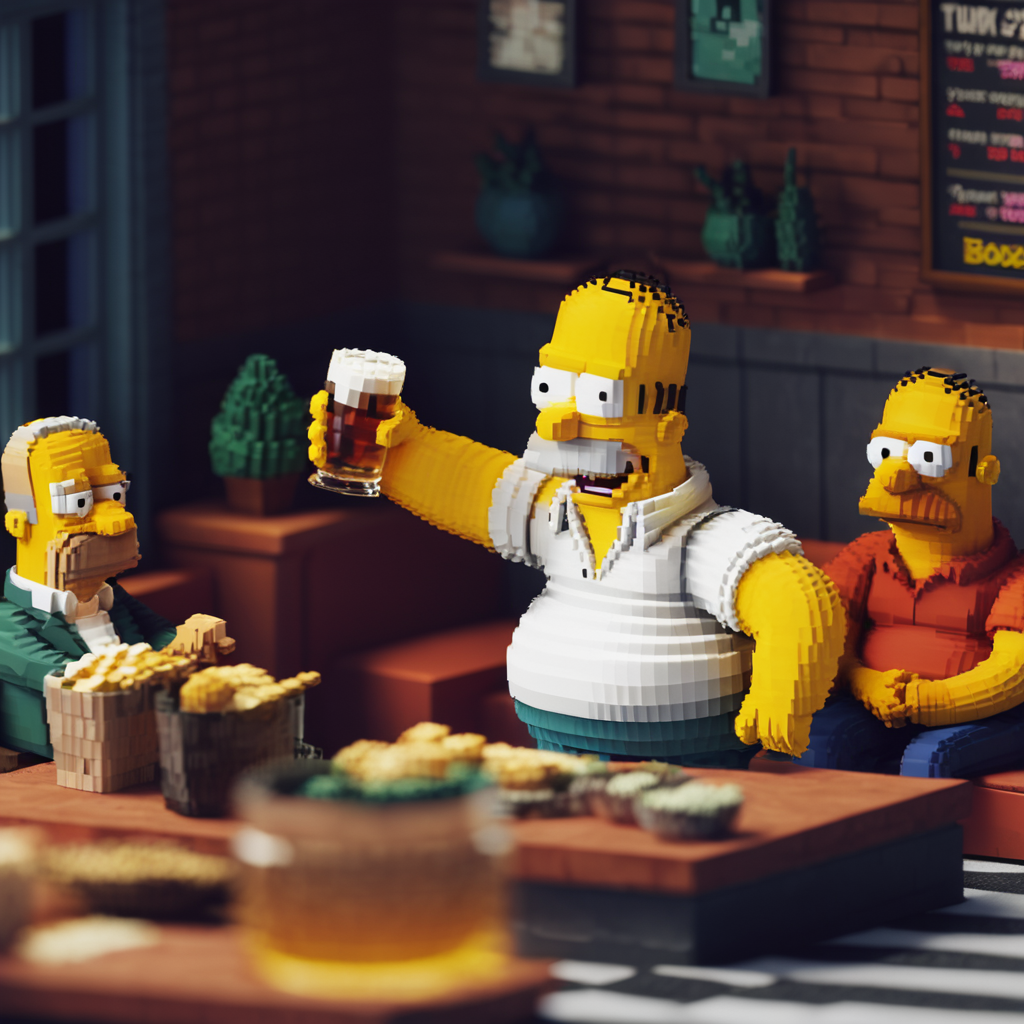
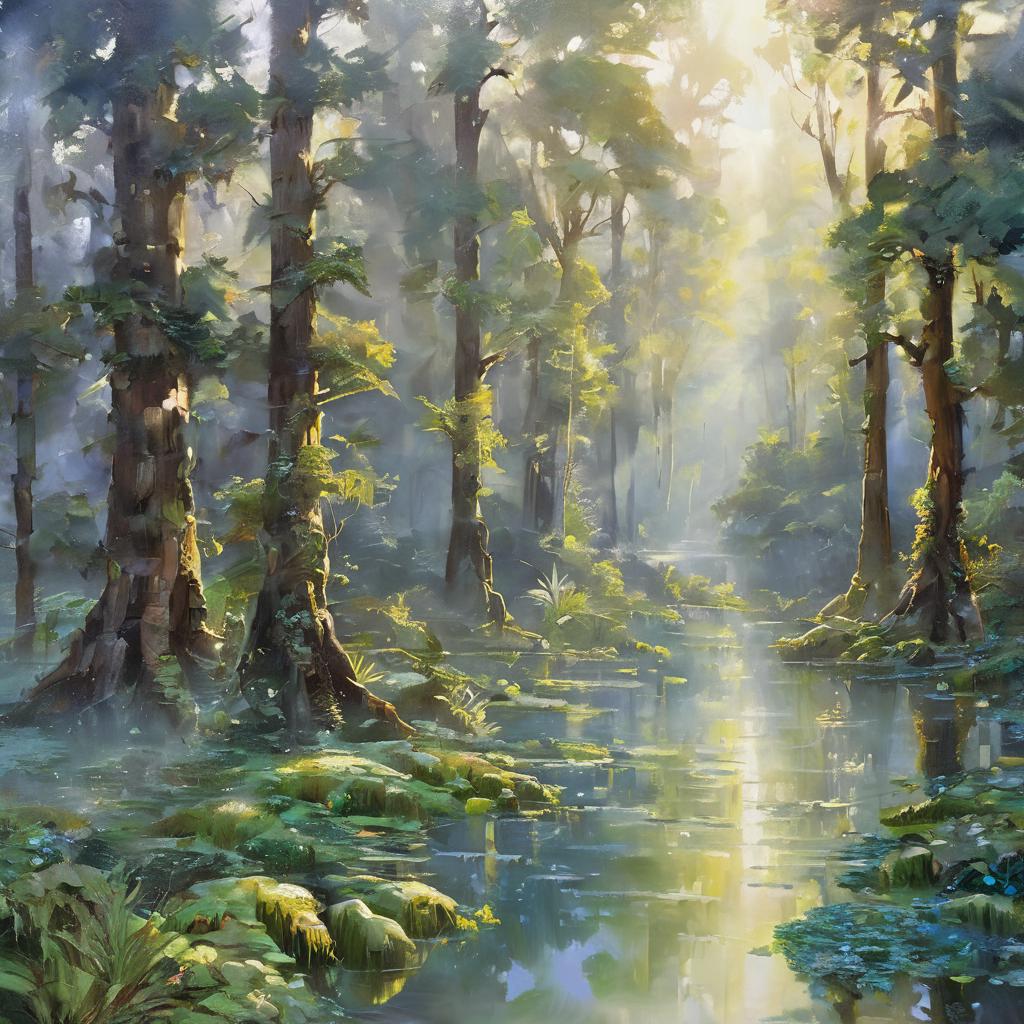
Versatility: SDXL v1.0 can achieve many more styles than its predecessors, and "knows" a lot more about each style. A lot more artist names and aesthetics will work compared to before.
Simpler prompting: Compared to SD v1.5 and SD v2.1, SDXL requires less words to create complex and aesthetically pleasing images. No more gigantic paragraphs of qualifiers.
Resolution: SDXL v1.0 is trained at a base resolution of 1024 x 1024, producing improved image detail over its predecessors.
Aspect ratio: SDXL v1.0 handles aspect ratios a lot better. Predecessors produce many distortions at stretched out aspect ratios.
SDXL has all the capabilities of SD; it can be fine-tuned for concepts to create custom models and LoRAs, and used with Controlnets. We're excited to see a flood of creativity as the community builds new models in the next few weeks!
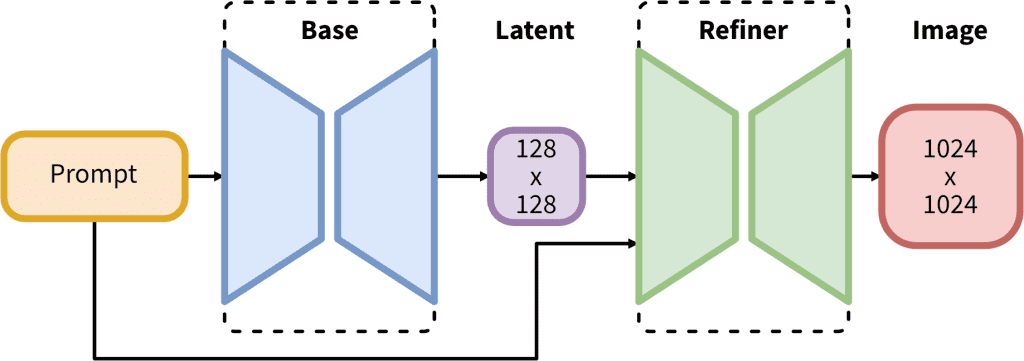
Notably, SDXL comes with 2 models and a 2-step process: the base model is used to generate noisy latents, which are processed with a refiner model specialized for the final denoising steps. The base model can be used alone, but the refiner model can add a lot of sharpness and quality to the image.
Download the SDXL v1.0 models
Download these two models (go to the Files and Versions tab and find the files):
Then, download the SDXL VAE:
LEGACY: If you're interested in comparing the models, you can also download the SDXL v0.9 models:
Install/Upgrade AUTOMATIC1111
AUTOMATIC1111 can run SDXL as long as you upgrade to the newest version.
New installation
Follow these directions if you don't have AUTOMATIC1111's WebUI installed yet. This is the interface you'll be using to generate images.
Existing installation
For an existing installation of AUTOMATIC1111.
Open the Command Prompt and navigate to your WebUI folder stable-diffusion-webui.
As a reminder, the command cd <FOLDER NAME> is used to navigate into a directory (folder), the command cd .. is used to move up a directory, and the command dir is used to list all directories in your current directory.
For example, if your WebUI folder is located in the root (most top level) directory, you would type and press enter:
cd stable-diffusion-webuiWhen you're in this folder, enter this command to update to the latest version of the WebUI:
git pullDon't want to manually update AUTOMATIC1111 every time? Here's a guide on how to set up automatic updates for AUTOMATIC1111.
Start WebUI
Wait for the files you downloaded above finish downloading:
Place these files in the folder stable-diffusion-webui/models/Stable-Diffusion.
Place the VAE file in the folder stable-diffusion-webui/models/VAE.
Now run the WebUI (double click the file webui.bat).
Problems at this step? Check the troubleshooting section.
VAE Dropdown
If you don't have the VAE dropdown: in the WebUI click on Settings tab > User Interface subtab.
Then under the setting Quicksettings list add sd_vae.

Scroll to the top of the settings. Click Apply settings, and then Reload UI.
Now you will see the VAE dropdown next to your checkpoint model dropdown. Select the VAE you downloaded, sdxl_vae.safetensors.

Getting Started With SDXL
Here are my recommended quick-start settings for SDXL v1.0. These will be a little bit different from the settings you're used to in previous SD models. I'll go into more detail on each of these below:
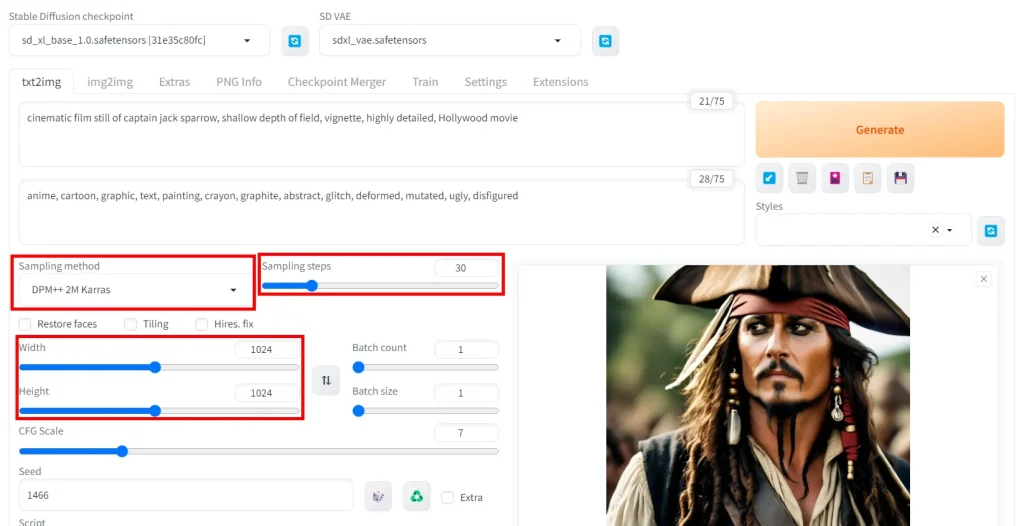
- Resolution: 1024 Width x 1024 Height
- Sampling steps: 30 or greater
- Sampling method: DPM++ 2M Karras (or any DPM++ sampler that uses Karras)
Resolution
SDXL v1.0 is trained on 1024 x 1024 images. While you can generate at 512 x 512, the results will be low quality and have distortions.
For best results, keep height and width at 1024 x 1024 or use resolutions that have the same total number of pixels as 1024*1024 (1048576 pixels)
Here are some examples:
- 896 x 1152
- 1536 x 640
SDXL does support resolutions for higher total pixel values, however results may vary.
Keep in mind, the more "stretched out" your aspect ratio, the more likely it is you'll get distortions and mutations.
Sampling Steps
While 20 sampling steps could result in a "final" image with the previous models, we find that 20 steps looks unfinished and raw with SDXL.
With AUTOMATIC1111, SDXL works best at 30+ sampling steps. You can experiment with values between 30-50.


In this example, after 30 the improvements are marginal at best. However, an image that requires more detail will benefit from more sampling steps.
Prompt
cinematic film still of captain jack sparrow, shallow depth of field, vignette, highly detailed, Hollywood movieNegative Prompt
anime, cartoon, graphic, text, painting, crayon, graphite, abstract, glitch, deformed, mutated, ugly, disfiguredSettings
Steps: 30, Sampler: DPM++ 2M Karras, CFG scale: 7, Seed: 1466, Size: 1024x1024, Model hash: 31e35c80fc, Model: sd_xl_base_1.0, Clip skip: 2, Version: v1.5.0
Sampler/Sampling Method
The sampling method matters more with SDXL than in previous versions.
I recommend any of the DPM++ samplers, especially the DPM++ samplers with Karras. Start with DPM++ 2M Karras or DPM++ 2S a Karras.

Prompt
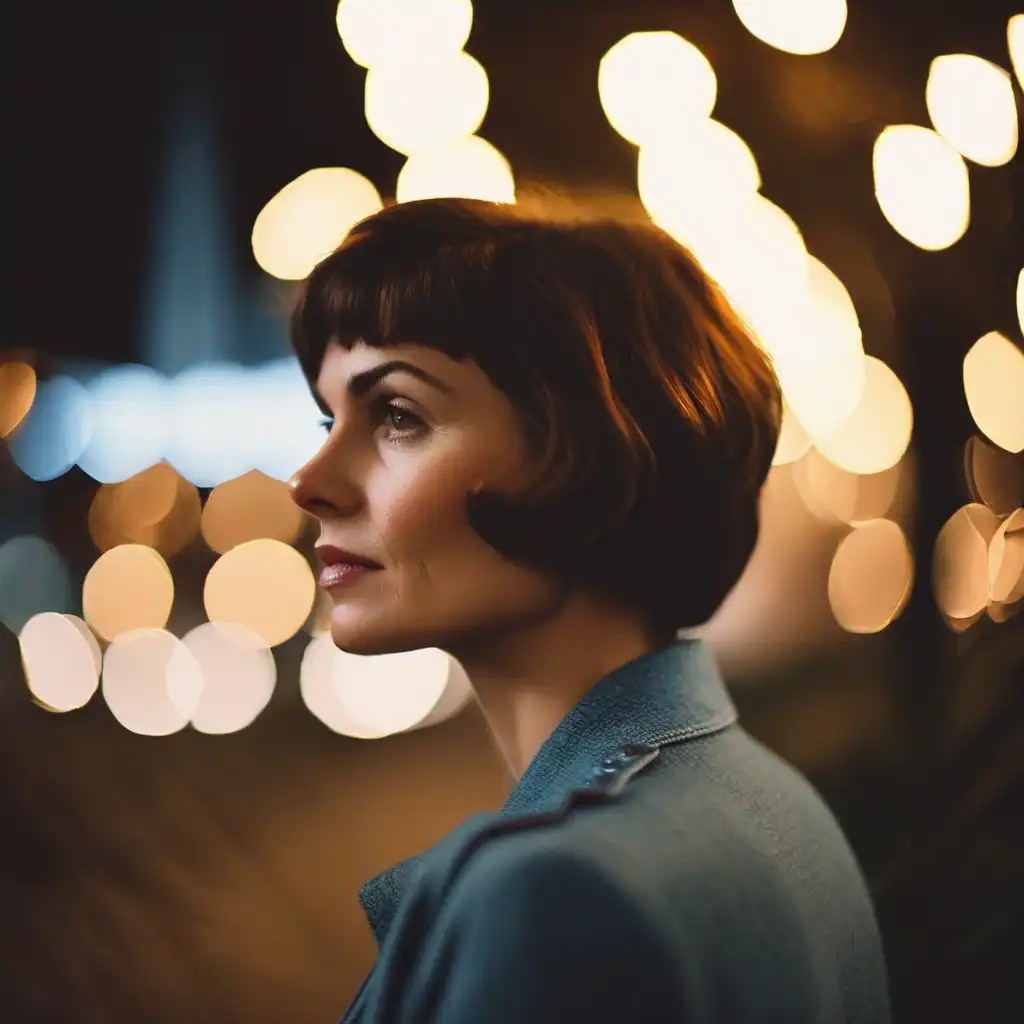
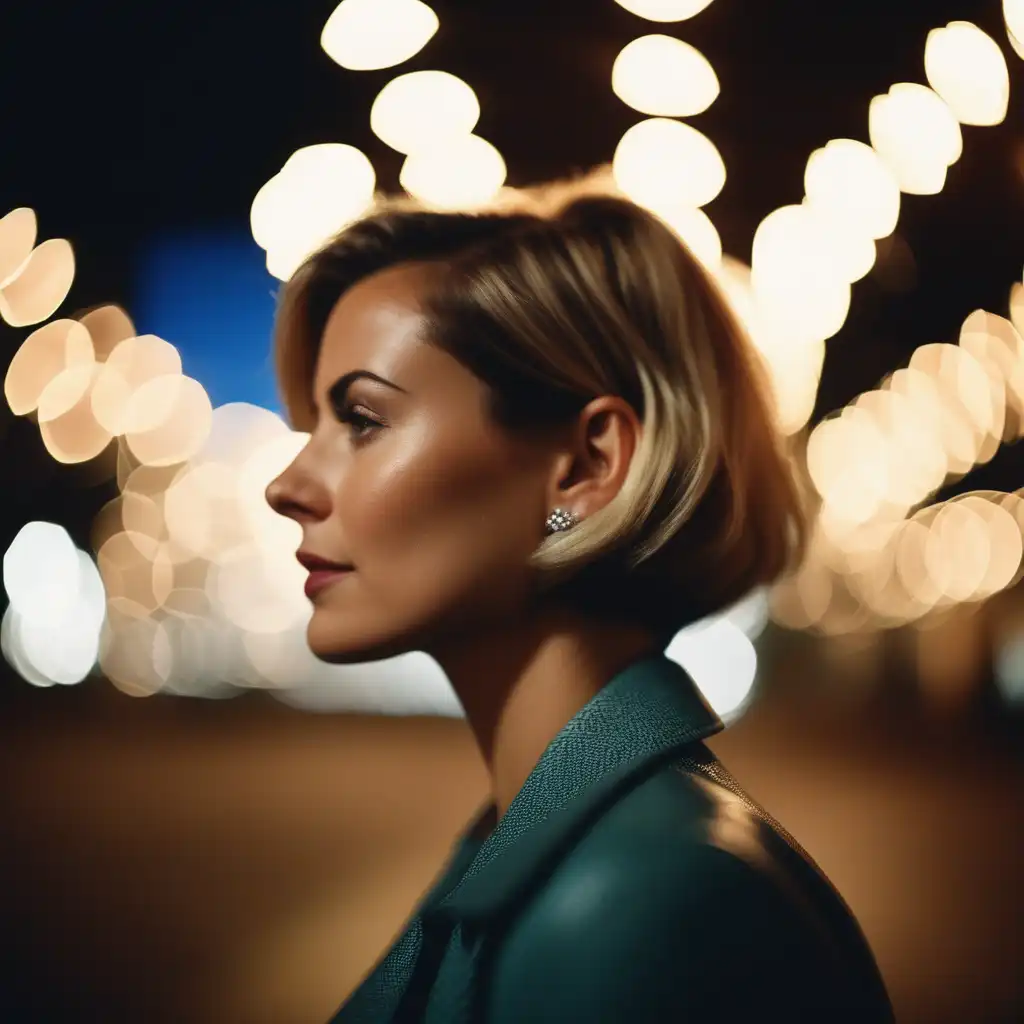
cinematic photo of a woman with short hair looking into distance. 35mm photograph, film, bokeh, professionalNegative Prompt
anime, cartoon, graphic, text, painting, crayon, graphite, abstract, glitch, deformed, mutated, ugly, disfiguredSettings
Steps: 30, Sampler: DPM++ 2M Karras, CFG scale: 7, Seed: 7453249871, Size: 1024x1024, Model hash: 31e35c80fc, Model: sd_xl_base_1.0, Clip skip: 2, Version: v1.5.0
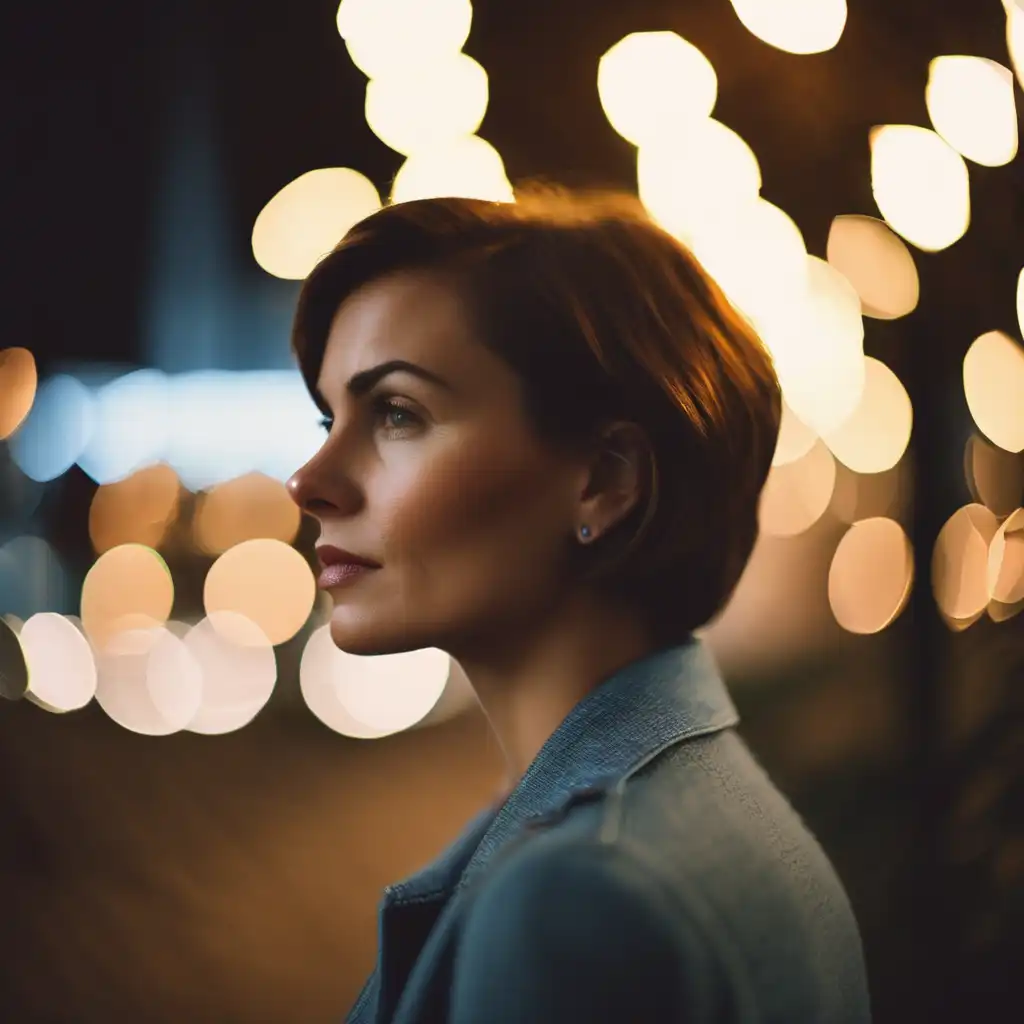
Using the SDXL Refiner in AUTOMATIC1111
The Refiner model is used to add more details and make the image quality sharper. It works best for realistic generations.
Practically, you'll be using the refiner with the img2img feature in AUTOMATIC1111.
As previously mentioned, you should have downloaded the refiner model and placed it in your models folder stable-diffusion-webui/models/Stable-Diffusion.
Generate an image as you normally with the SDXL v1.0 base model.
Below the image, click on "Send to img2img".

Your image will open in the img2img tab, which you will automatically navigate to.
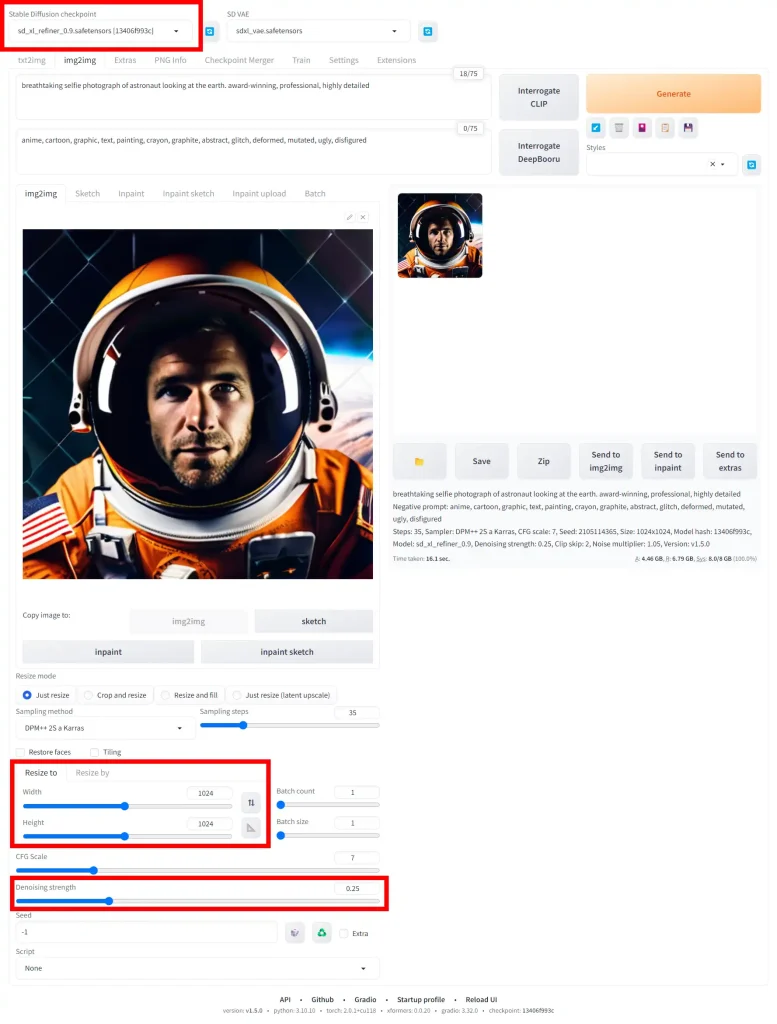
Make the following changes:
- In the
Stable Diffusion checkpointdropdown, select the refinersd_xl_refiner_1.0.safetensors. - In the
Resize tosection, change the width and height to 1024 x 1024 (or whatever the dimensions of your original generation were). - Bring
Denoising strengthto 0.25 (higher denoising will make the refiner stronger. While this can make the image sharper, it can also change the content of the image drastically) I recommend experimenting with a denoising strength from 0.25-0.75.
Optional settings:
- Change your prompt. The refiner model accepts a new prompt and negative prompt, which you can input at the top of the screen (make sure you're still in the img2img tab).
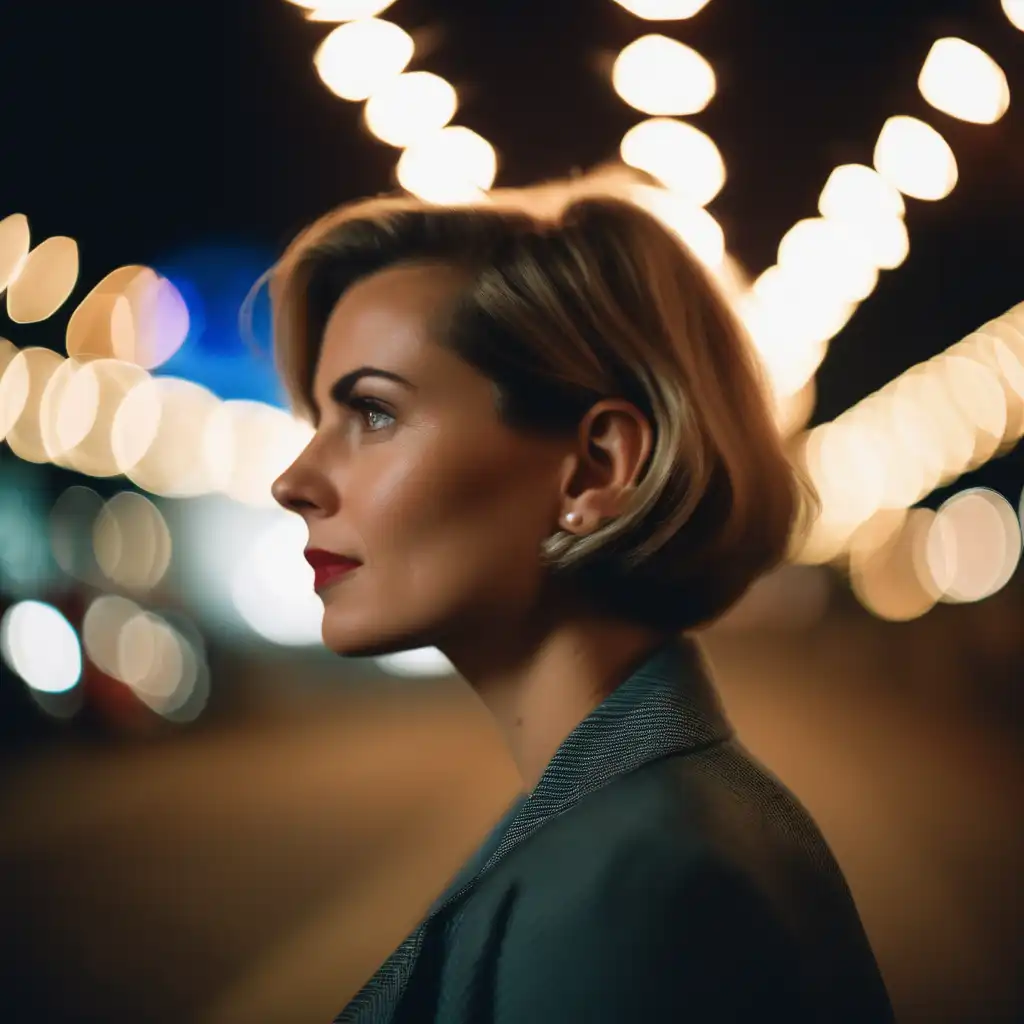
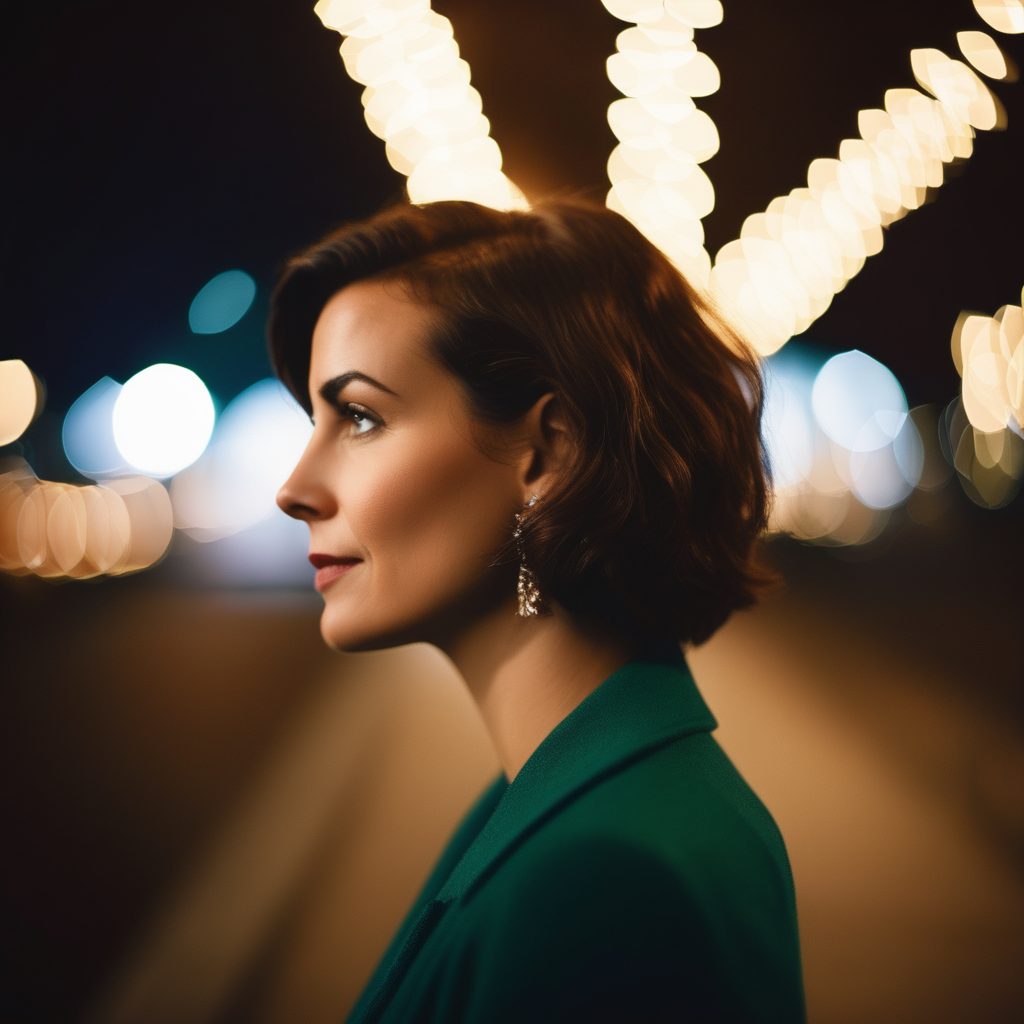
Here are the resulting generations from the refiner model using different levels of Denoising strength. I recommend you find the sweet spot for what you're trying to go after.:


In these examples, I prefer 0.5 the best.
Notice how 0.75 denoising strength is very sharp, but it gives me a completely different face.
The refiner model can be hit or miss: sometimes it can make the image worse.
I find it works best on images that look slightly "blurry", and doesn't work well on images that look very sharp already.
SDXL Aesthetic Scores
SDXL comes with a new setting called Aesthetic Scores.
This is used for the refiner model only.
In the training data of SDXL, an aesthetic score was assigned to every image, with 0 being the ugliest and 10 being the best-looking.
By setting your SDXL high aesthetic score, you're biasing your prompt towards images that had that aesthetic score (theoretically improving the aesthetics of your images).
SDXL low aesthetic score is a bit more confusing. It sets the "bias" your negative prompt. Usually, you want this bias to resemble images that had a low aesthetic score...so this works in the inverse of high aesthetic score.
The lower your low aesthetic score, the better your images will look and vice-versa.
To change these scores, go the the Settings tab -> SDXL subtab
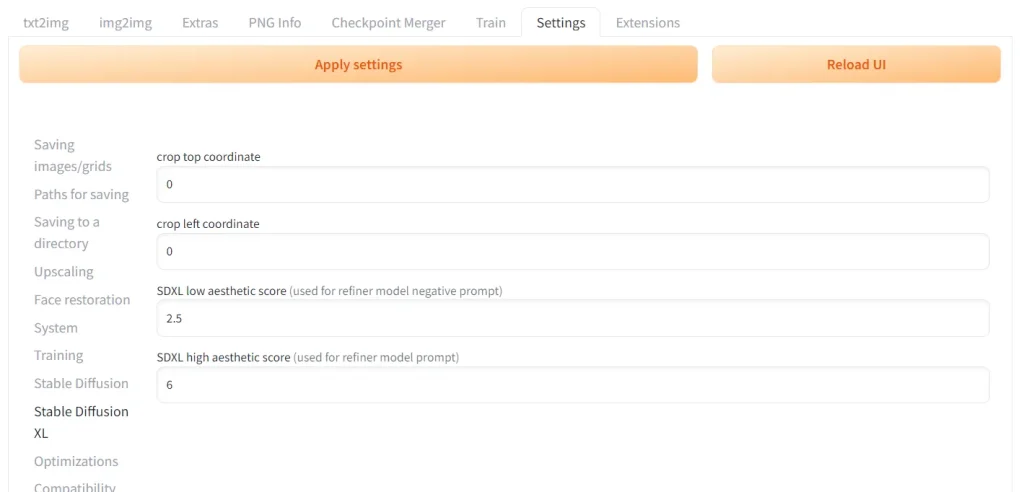
Make sure you click the Apply Settings button at the top after you've changed these scores. You do not have to click Reload UI.
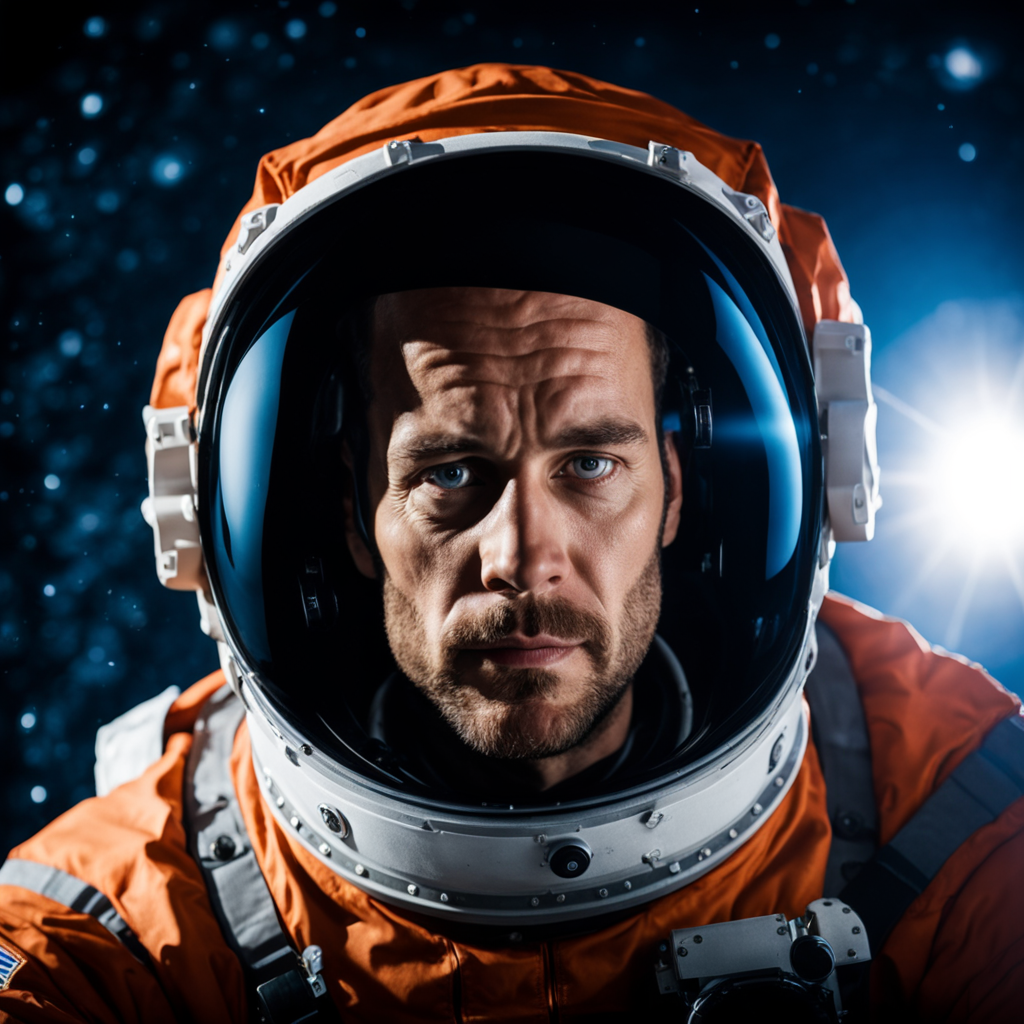
Here's an image that we'll run through the refiner model with denoising strength 0.5, and different aesthetic scores:
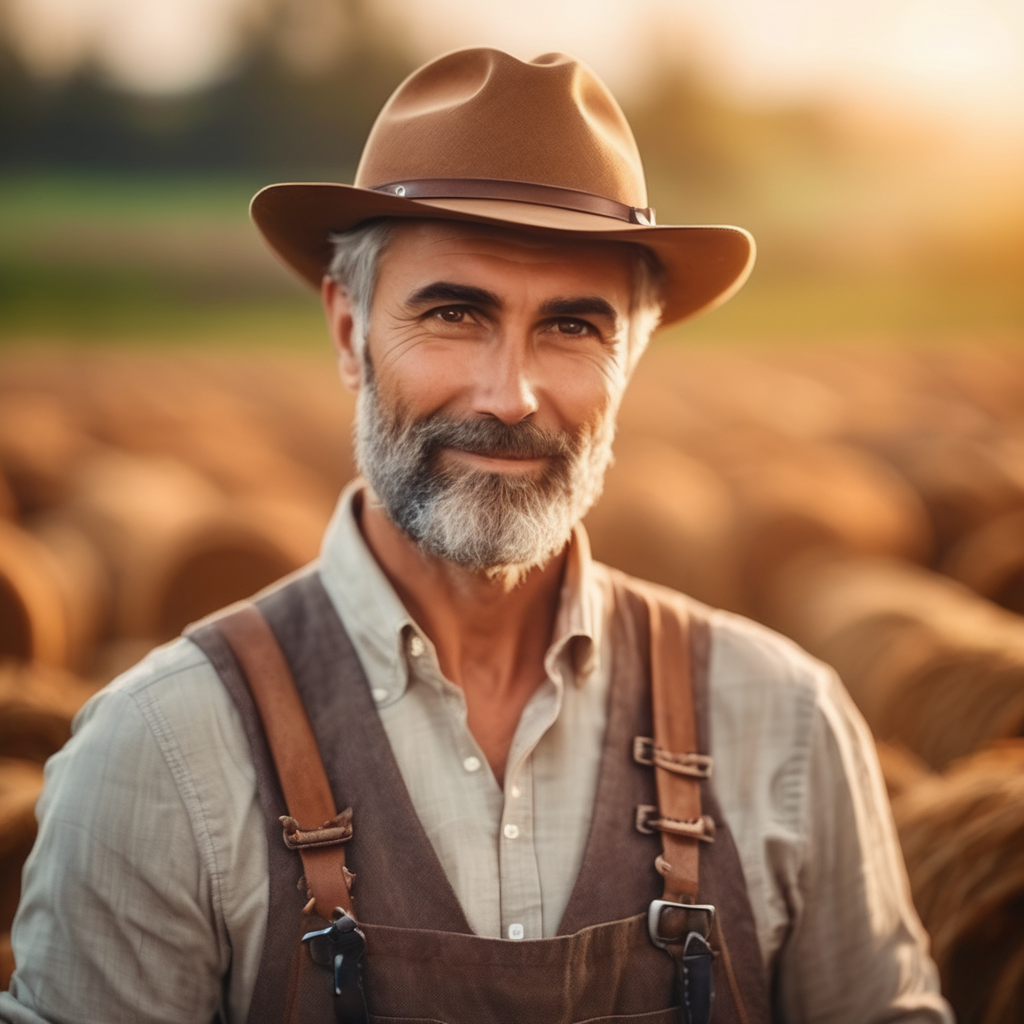
cinematic photo of a farmer. 35mm photograph, film, bokeh, professional, 4k, highly detaileddeformed, glitch, noise, noisy, off-center, deformed, cross-eyed, closed eyes, bad anatomy, ugly, disfigured, sloppy, duplicate, mutated, black and white| High Score 5 (uglier) | High Score 10 (prettier) | |
| Low Score 5 (uglier) |  1 1 | 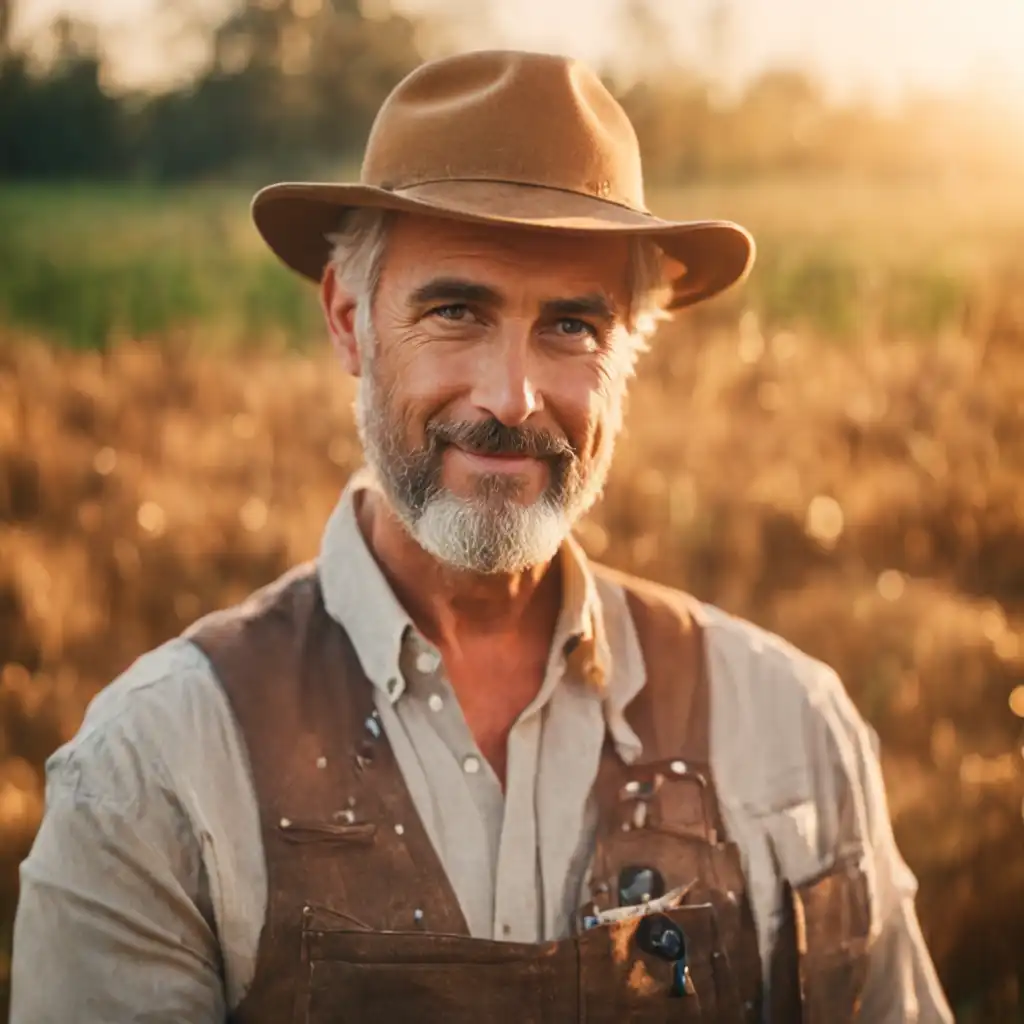 2 |
| Low Score 0 (prettier) |  3 |  4 |
I prefer generations 2 & 3 over 4, which looks overdone and fake. Generation 1 is objectively the worst one; the man looks like he is in pain.
Setting your low score to 0 and your high score to 10 won't necessarily produce the best images.
Contrary to what you might expect, incorporating the grittiness of "lower quality" images can make your images look better and more realistic.
Different aesthetic styles will have different aesthetic scores that work best.
Here are some recommended values for different styles.
- Realism/Photography: 1 low score, 5 high score (as shown above)
- Traditional Medium Paintings: 1 low score, 8 high score
- Digital Paintings: 4 low score, 9 high score
Prompting in SDXL
To get started, check out these prompt styles for SDXL v1.0.
Two Text Encoders -> Two Prompts
SDXL v1.0 can use two text prompts for image generation (and two negative prompts as well).
AUTOMATIC1111 only lets you use one of these prompts and one negative prompt. If you want to use two prompts with SDXL, you must use ComfyUI.
Why does SDXL use two prompts?
Stable Diffusion needs to "understand" the text prompts that you give it. To do this, it uses a neural network text encoder called CLIP (Contrastive Language-Image Pre-training).
Whereas previous Stable Diffusion models only have one text encoder, SDXL v1.0 has two text encoders, each of which you can supply a different prompt:
- text_encoder (CLIPTextModel) also known as CLIP_G: this is the encoder that was used for Stable Diffusion v2.0 & v2.1
- text_encoder_2 (CLIPTextModelWithProjection) also known as CLIP_L: this is the encoder that was used for Stable Diffusion v1.4 & v.15
Users have observed that each text encoder works better with a different prompting style:
- CLIP_G works better with natural language sentences eg.
35mm photo of a person on a park bench - CLIP_L works better with comma separated tags eg.
nikkor lens, kodachrome, gravel floor, shrubbery, foliage. From our tests we've observed it is more powerful than CLIP_G (tokens appear to have a larger impact).
Whether or not using 2 prompts is more effective than using 1 prompt + prompt techniques like image weights remains to be seen.
In our initial tests it appears that using both text encoders produces more dynamic results than only using one, and the most effective style is describing your subject in natural language with CLIP_G, and describing your style in comma separated tags in CLIP_L:
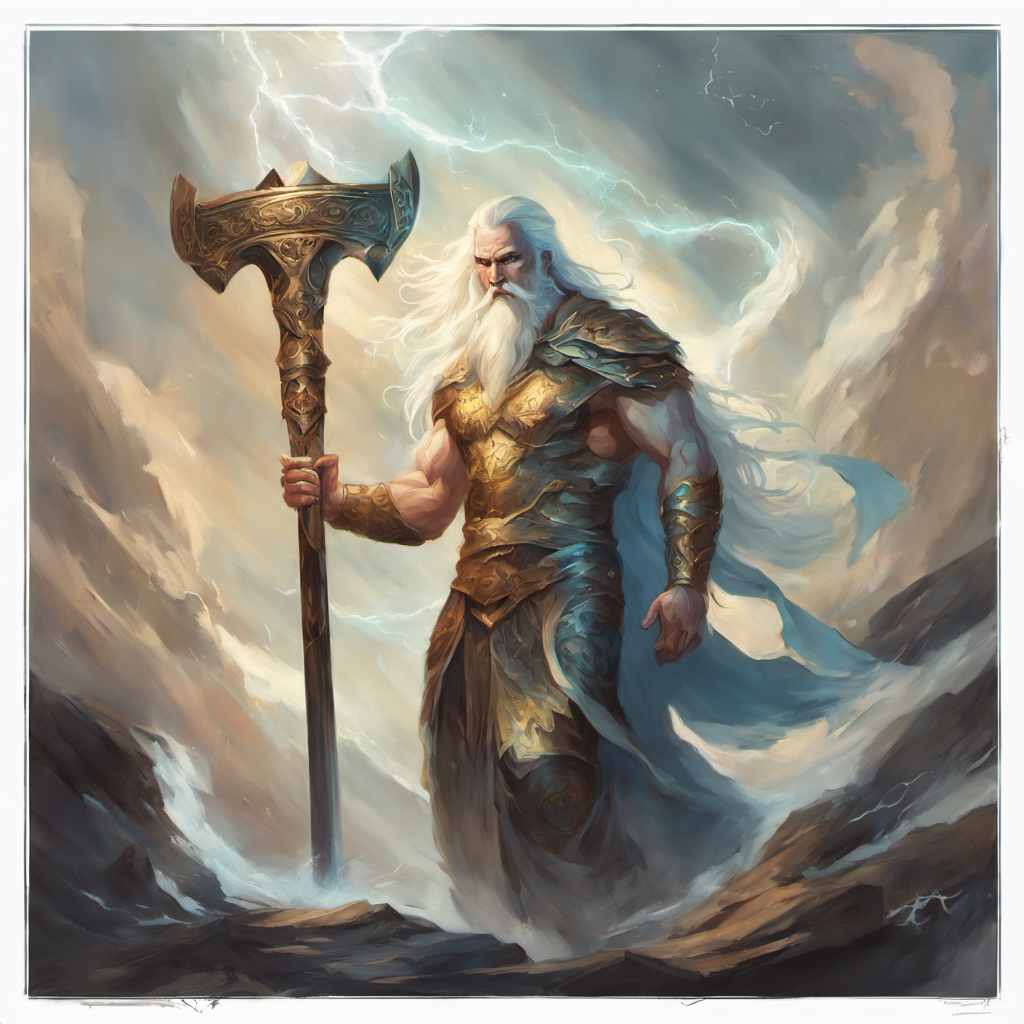
Combined (CLIP_G ONLY)
ethereal fantasy concept art of thunder god with hammer. magnificent, celestial, ethereal, painterly, epic, majestic, magical, fantasy art, cover art, dreamy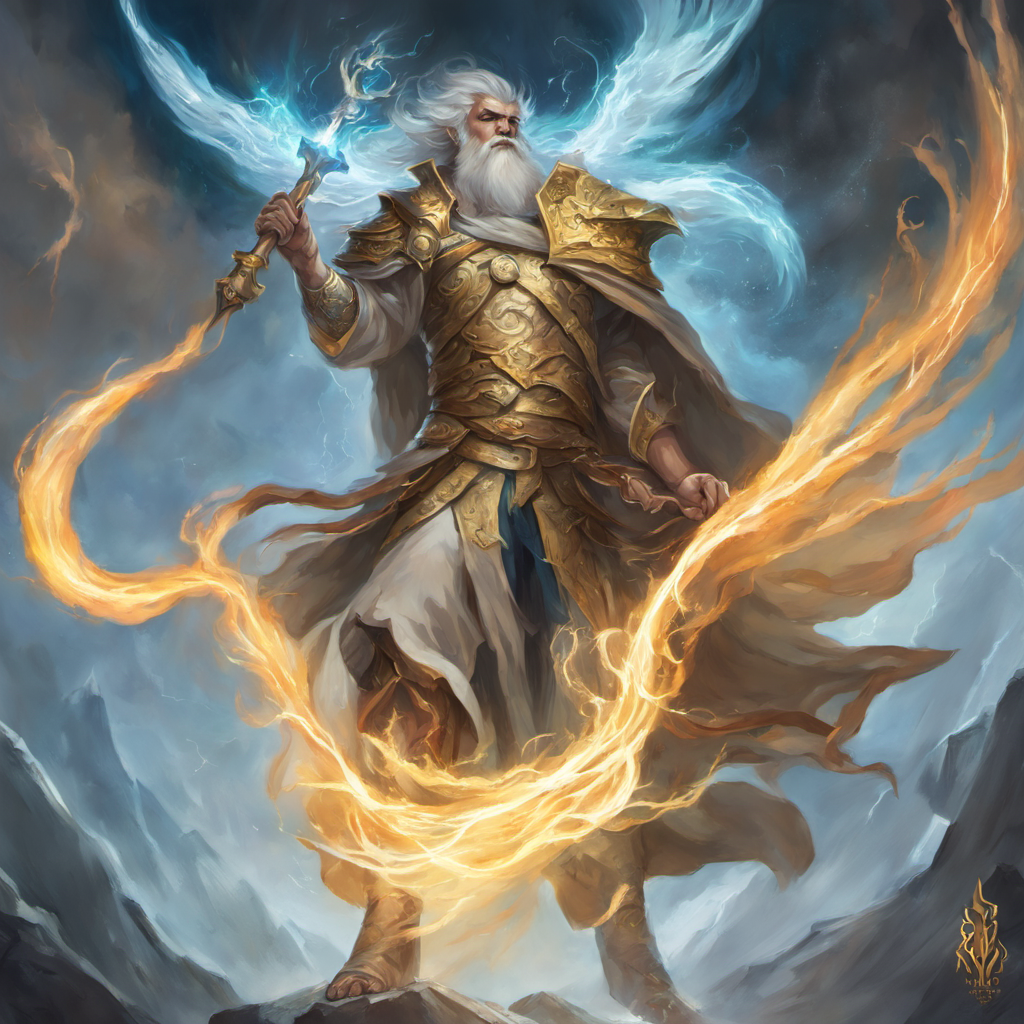
Clip_G
ethereal fantasy concept art of thunder god with hammer. Clip_L
magnificent, celestial, ethereal, painterly, epic, majestic, magical, fantasy art, cover art, dreamySDXL Custom Models
Here are some popular community made custom models trained on SDXL:
DreamShaper XL
The popular DreamShaper model but trained on SDXL v1.0 instead of SD v.15. A very versatile, high-quality model.
SDXL LoRAs
Check out the complete LoRA guide for explanation of what a LoRA is and how to use one.
Keep in mind LoRAs trained on Stable Diffusion v1.5 models will not work with SDXL.
Here are some popular LoRAs trained on SDXL:
How do you train LoRAs on SDXL?
You train LoRAs on SDXL v1.0 using the same method you would use for SD v1.5 LoRAs. Note that the VRAM requirements are higher: you should have a minimum of 12 GB VRAM.
Here's a guide for this method using Kohya.
Next Steps
I highly recommend trying out ComfyUI after you get AUTOMATIC1111 working with SDXL.
Even though the learning curve is a bit higher, there are so many quality-of-life improvements that make SDXL a joy to use. It's also much easier than it looks.
If you're new to Stable Diffusion, make sure to check out the rest of our beginner's series:
Part 1: Getting Started: Overview and Installation
Part 2: Stable Diffusion Prompts Guide
Part 3: Stable Diffusion Settings Guide
Part 3: Models
Part 4: LoRAs
Part 5: Embeddings/Textual Inversions
Part 6: Inpainting
Part 7: Animation
Troubleshooting
Error: torch.cuda.OutOfMemoryError: CUDA out of memory
SDXL v1.0 does have higher VRAM requirements than v2.1 and v1.5, so you might be surprised to get a memory error when you could run previous Stable Diffusion models just fine.
Try running the WebUI with --medvram commandline argument, which sacrifices some speed for low VRAM usage (there's also the --lowvram argument, which sacrifices a lot of speed for even lower VRAM usage).
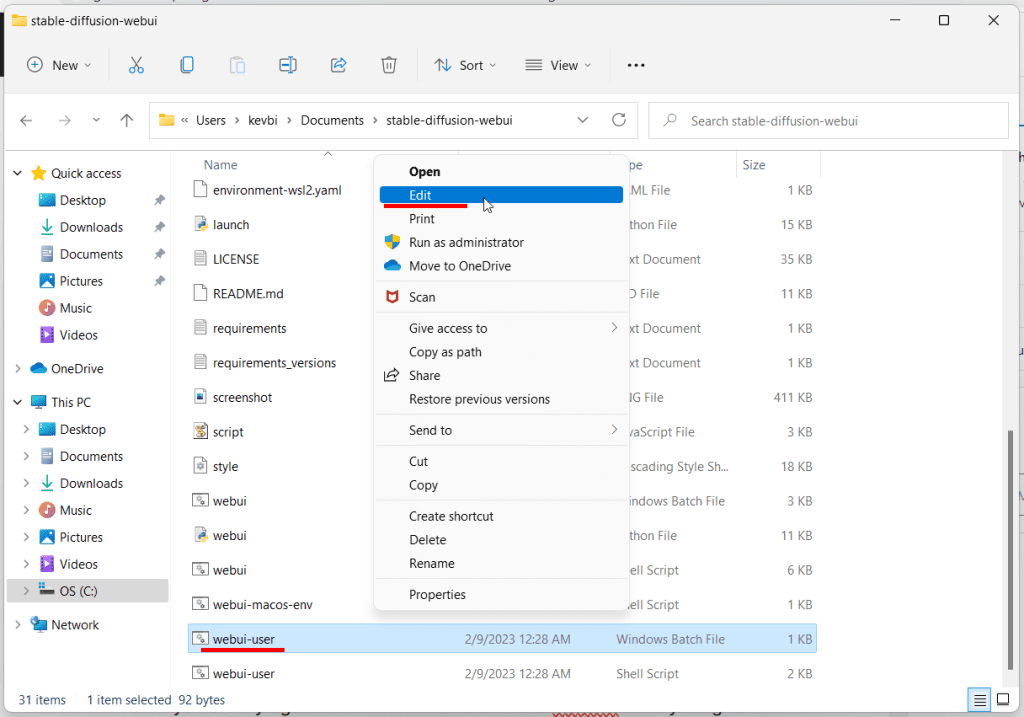
To add commandline arguements, find the file named webui-user.bat (Windows Batch File) in your stable-diffusion-webui folder and right click -> Edit (Windows 11: Right click -> Show more options -> Edit).
Add the arguments to the "set COMMANDLINE_ARGS=" line, so that they look like this:
COMMANDLINE_ARGS=--medvram
Save the file and restart the WebUI.
Model Takes Forever to Load
Problem: when you select the model in the Stable Diffusion checkpoint dropdown in AUTOMATIC1111, the spinner keeps going forever.
Try these fixes:
- Update xformers (xformers: 0.0.20 or later)
- Disable your extensions
Update Xformers
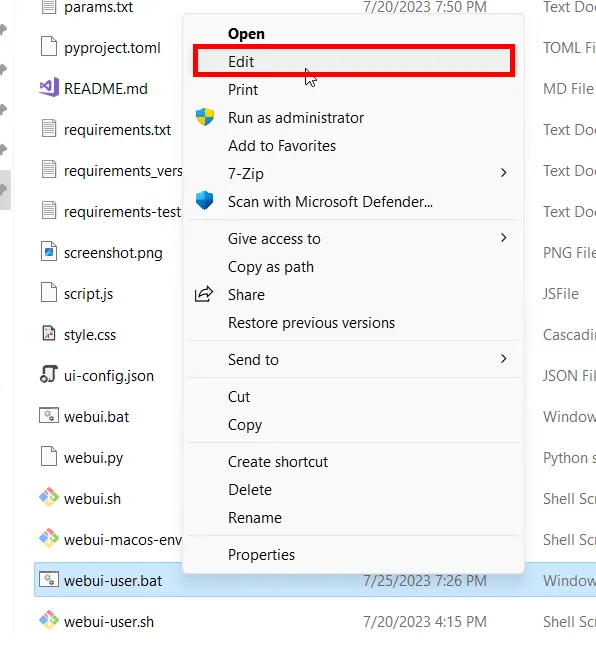
Right click your webui-user.bat file and click edit (Click Show more options -> Edit on Windows 11). Select Notepad or your program of choice.
After the line: "set COMMANDLINE_ARGS=" add "--xformers", so your file looks like this:
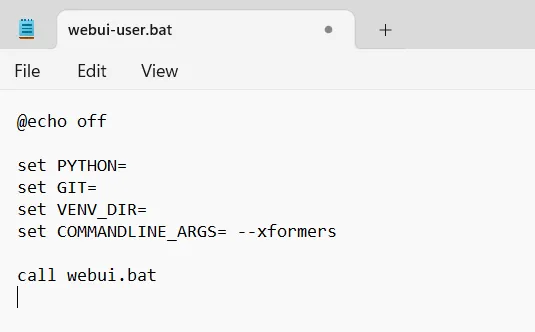
Save the file, and then double click it to run the WebUI and update xformers.
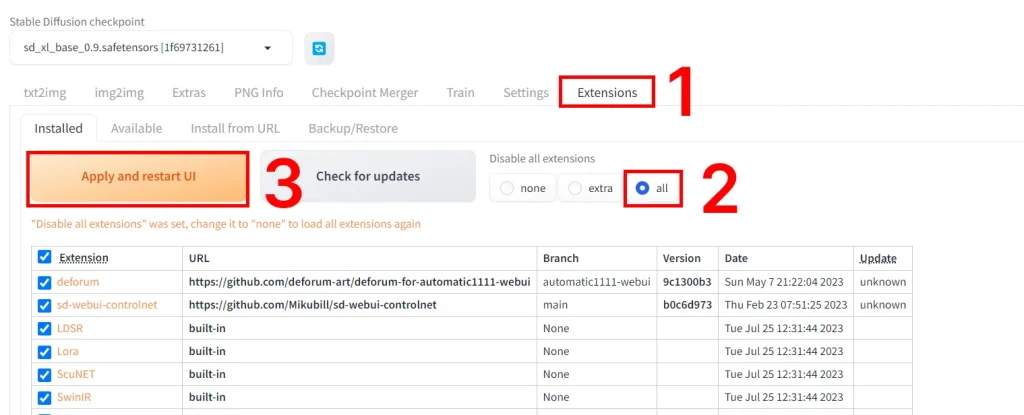
Disable extensions
Some extensions won't play well with SDXL at the moment. We'll disable them for now.
Go to Extensions tab in the WebUI -> Click the All button under Disable -> Click Apply and restart UI
FAQ
Yes, but you can only use LoRAs specifically trained on SDXL.
SDXL v1.0 censors NSFW content. For NSFW generations you will have to use a custom model trained on SDXL.
Yes, but it is quite slow.

The link for sd_xl_base_1.0.safetensors points to the refiner (http://huggingface.co/stabilityai/stable-diffusion-xl-refiner-1.0/blob/main/sd_xl_refiner_1.0.safetensors).
The correct address is
http://huggingface.co/stabilityai/stable-diffusion-xl-base-1.0/blob/main/sd_xl_base_1.0.safetensors
Thank Olaf, I have corrected the link
Thank you so much!! I followed the steps and works perfect for me.
Cheers Diego
Hello thank you so much for the guide. I have an appple syllicon m1, I think I followed all your steps but when I start Automatic1111 the model which is loading is 1.5v no SDXL. What am I doing wrong, what could be?
Thank you!
Valero
Hello Valero, there is a dropdown at the top of the interface called Stable Diffusion checkpoint where you can change the model selected.