After the release of Stable Diffusion, Waifu Diffusion emerged as one of the most popular Stable Diffusion anime fine-tunes.
Fine-tuning is the practice of taking a model which has been trained on a wide dataset, and training it further on a dataset you are specifically interested in.
In this case, Waifu Diffusion v1.4 (the latest version) took Stable Diffusion v2 and fine-tuned it using 5,468,025 anime text-image samples downloaded from Danbooru, the popular anime imageboard.
In this guide, I'll show you how to download and run Waifu Diffusion using AUTOMATIC1111's Stable Diffusion WebUI.
Installation
The installation process takes less than 10 minutes, minus the download times. You'll need around 10GB of free space on your hard drive.
Before proceeding with installation, here are the recommended specs:
- 16GB RAM
- NVIDIA (GTX 7xx or newer) GPU with at least 2GB VRAM (AMD GPU will work, but NVIDIA is recommended)
- Linux or Windows 7/8/10+ or Mac M1/M2 (Apple Silicon)
- 10GB disk space (includes models)
1. Download the model file
The model is all the stuff the AI has been trained on and is capable of generating. Model files end in '.ckpt', which stands for 'checkpoint'.
You can download the latest Waifu Diffusion model here:
http://huggingface.co/hakurei/waifu-diffusion-v1-4/blob/main/wd-1-4-anime_e2.ckpt
Download the file:
wd-1-4-anime_e2.ckpt
2. Download the Web UI
This is the user interface you will use to run the generations.
The most popular Stable Diffusion user interface is AUTOMATIC1111's Stable Diffusion WebUI. I've used a couple and I can see why: the developers are lightning fast and they keep on adding great features.
Here are the installation instructions for the WebUI depending on your platform:
- Installation for Windows: instructions
- Installation for Apple Silicon (Mac M1/M2): instructions
- Installation for Linux: instructions by Joshua Kinsey
3. Place the Model in the Web UI folder
After your files have finished downloading, place them both in the folder stable-diffusion-webui/models/Stable-diffusion.
Where stable-diffusion-webui is the containing folder of the Web UI you downloaded in the previous step.
Since you will be placing all future models into this folder choose a descriptive name that helps you remember what the model is.
4. Start the Web UI
- Windows: double-click
webui-user.batto start - Linux: run
webui-user.shto start - Mac: run the command
./webui.shin terminal to start
You will know it's ready when you see the line Running on local URL: http://127.0.0.1:7860
Let's open up our web browser and go to this address: http://127.0.0.1:7860
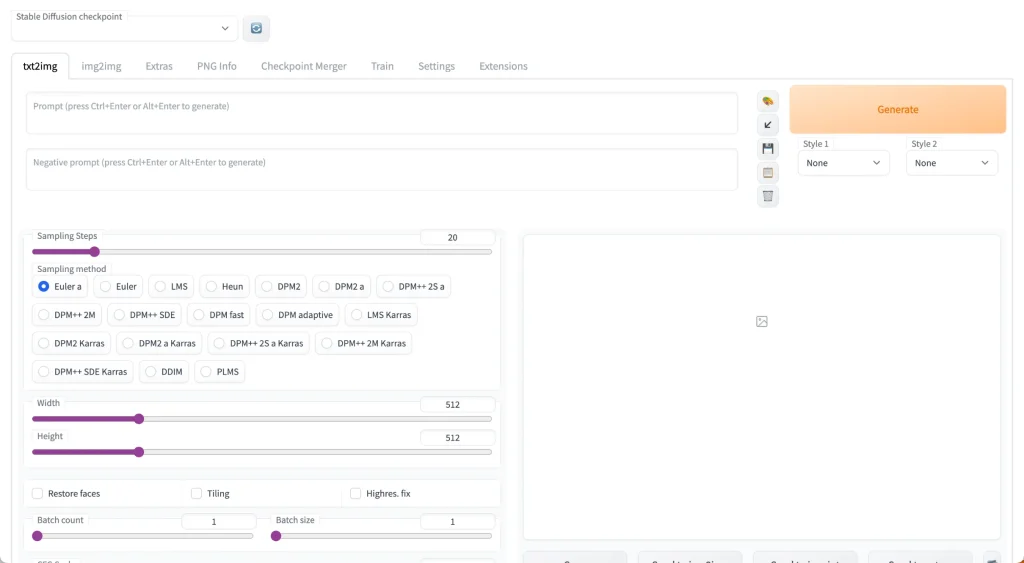
You'll notice at the top there's a toggle called "Stable Diffusion Checkpoint".
Change this to the Waifu Diffusion model you have just downloaded (wd-1-4-anime_e2.ckpt).
5. Generate!
Stuck for ideas? Check out the following prompt resources:
- Our NovelAI prompt guide. Even though this was written for NovelAI the techniques still carry over.
- P1atdev's Notion library (Japanese)
Prompting basics
- Begin your prompts with
masterpiece, best quality - Start with the following in the Negative prompts:
lowres, bad anatomy, bad hands, text, error, missing fingers, extra digit, fewer digits, cropped, worst quality, low quality, normal quality, jpeg artifacts, signature, watermark, username, blurry, artist name - Use
-1in the seed field to randomize it, or specify a seed to ensure consistency across generations.
I've written some detailed prompt techniques to improve your image results. If you are using this guide, replace {} with (). Stable Diffusion uses () while the NovelAI website uses {}.
Models to try next
As of today, Anything V3 is the most popular anime model. There are a couple of other great models you can try:
- OrangeMix is a collection of models created by merging other models. BloodOrangeMix is quite popular in the Japanese SD community and very good quality.
Check this full list of anime models for more.


Good