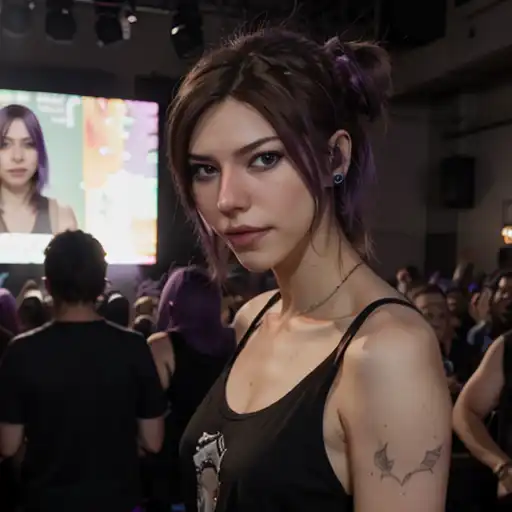
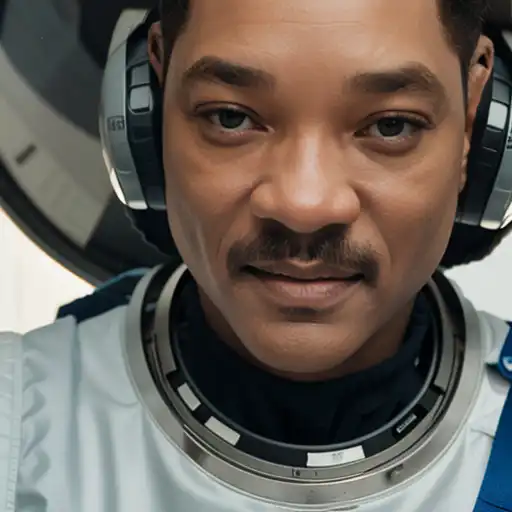
One common use of Stable Diffusion is generating consistent faces and characters. There are numerous ways to do this, but I've discovered that using IP-Adapter is by far the fastest and most effective. Just take a look at these examples:

IP-Adapter, short for Image Prompt Adapter, is a method of enhancing Stable Diffusion models that was developed by Tencent AI Lab and released in August 2023 [research paper][Github].
A practical way to describe it is "single image fine-tuning".
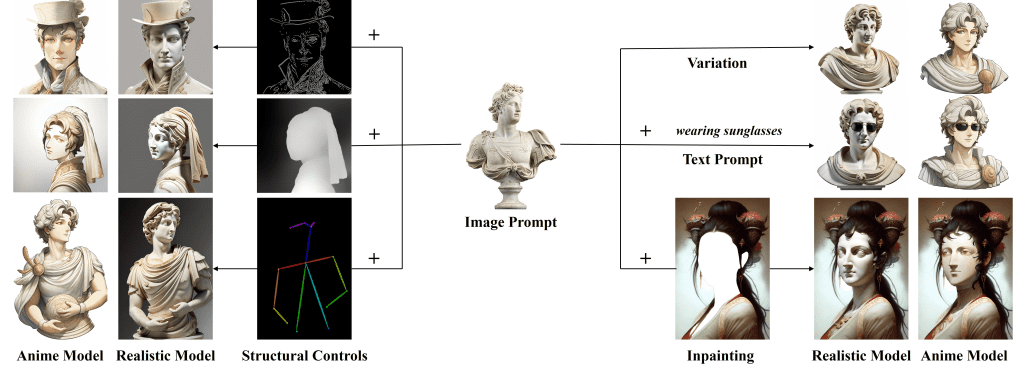
Instead of training models with 20-1000 images, all you have to do is input a single image.
Requirements
You should have already installed AUTOMATIC1111 Stable Diffusion WebUI, and have it updated to the latest version.
You should have the ControlNet extension, and have it updated to the latest version.
1. Download IP Adapter Models
Practically, you will run IP-Adapter models as ControlNets.
There are a couple of different IP Adapter files on HuggingFace.
These each have specialized purposes. For face consistency, download ip-adapter-plus-face_sd15.safetensors.
Place this file in the folder:
stable-diffusion-webui\extensions\sd-webui-controlnet\models
(stable-diffusion-webui is the containing folder of your AUTOMATIC1111 installation)
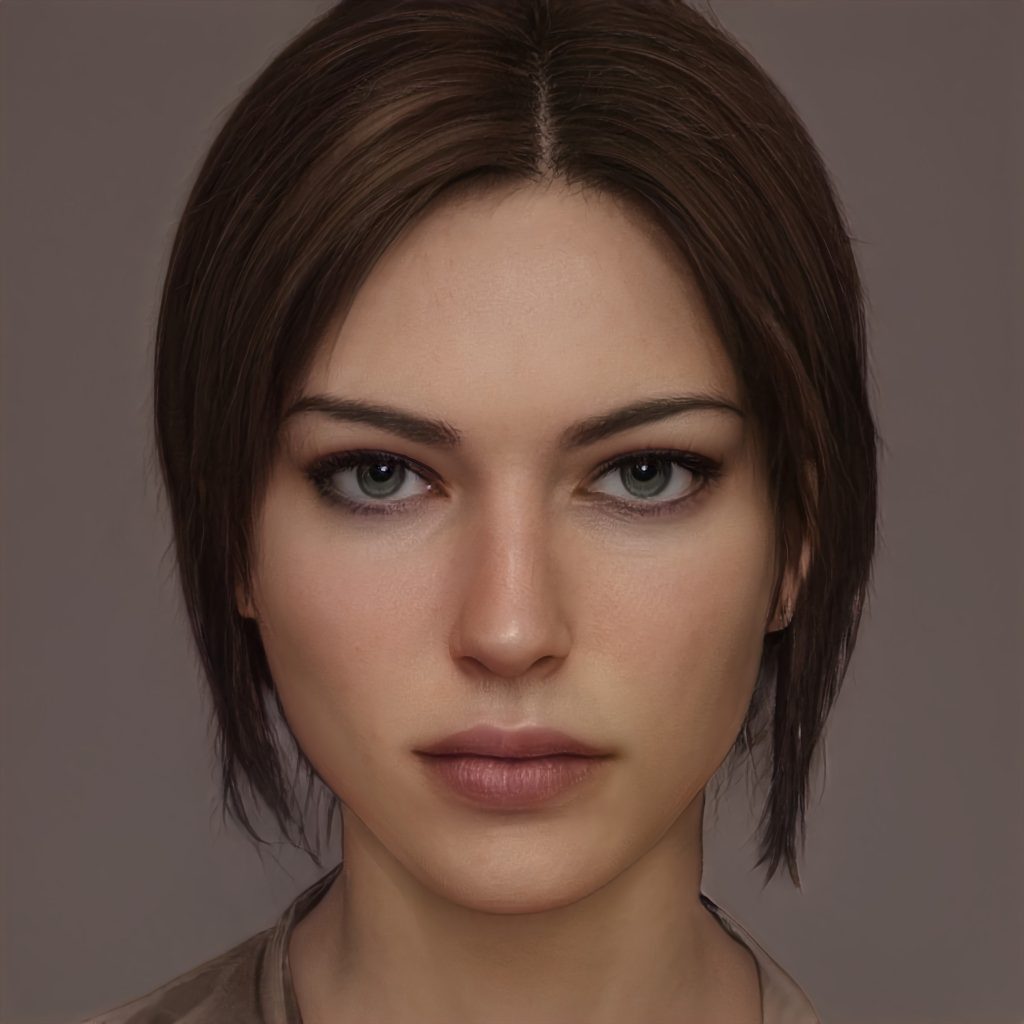
2. Get an image
You can either start from an existing image or use a character you generated with Stable Diffusion.
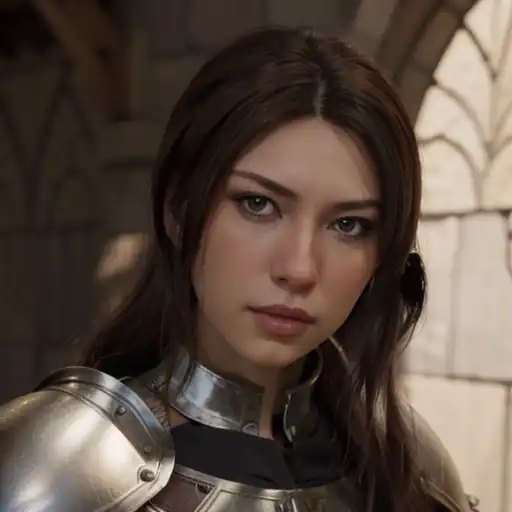
I'll use this image of character Lara Croft from the Tomb Raider series:
3. Text-to-image example
Type your prompt & negative prompt as you normally would. Here's an example prompt, using the EpicRealism model:
undefined
Then, drag and drop the image into the control image section of the ControlNet box.
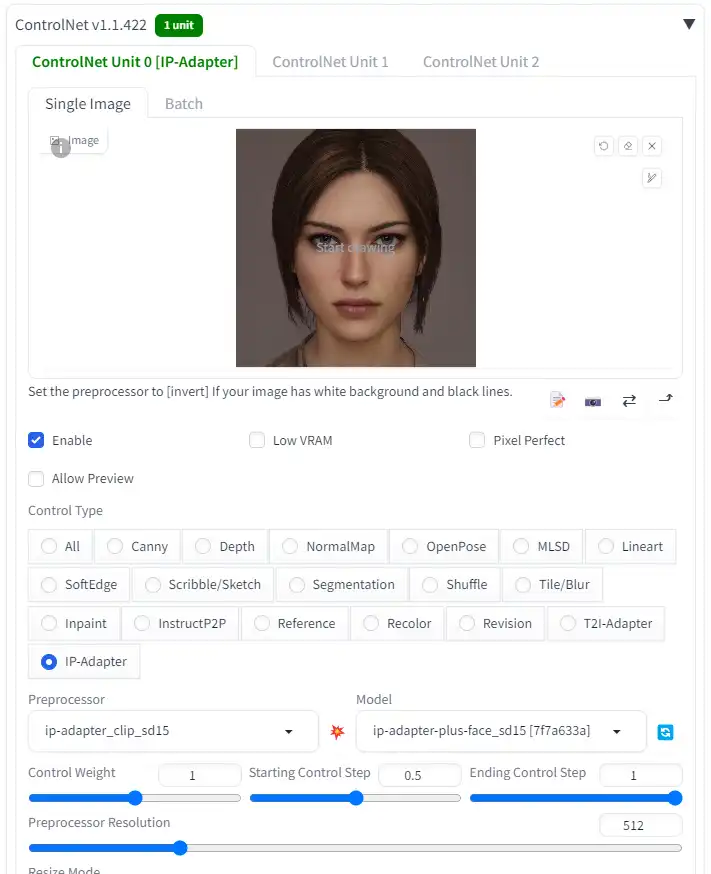
Make the following changes to the settings:
- Check the "
Enable"box to enable the ControlNet - Select the
IP-Adapterradio button under Control Type - Select
ip-adapter_clip_sd15as the Preprocessor, and select the IP-Adapter model you downloaded in the earlier step. - Important: set your "
Starting Control Step" to 0.5. The Starting Control Step is a value from 0-1 that determines at which point in the generation the ControlNet is applied, with 0 being the beginning and 1 being the end.- If this value is lower, the IP-Adapter ControlNet will be applied earlier. The face/style of your control image will be stronger, however the effect of your original model & prompt will be weaker.
- If this value is higher, the IP-Adapter ControlNet will be applied later. The face/style of your control image will be weaker, however the effect of your original model & prompt will be stronger.
- I recommend playing with a value between 0.4-0.6. You can also increase the overall steps, and set the Starting Control Step to 0.3.
The first time you generate, you will have to download an encoder. This may take a while.
Results