Dreambooth allows you to take any subject (person, pet, object) and put it in a Stable Diffusion model. Here's the official paper by Google researchers, and the Twitter announcement of the project.
You have multiple options for running Dreambooth. We'll be using one of the more popular ones: TheLastBen's Fast Stable Diffusion Colab.
In this guide I'll use myself as an example to show you how to use Dreambooth to create a model that generates images of you.
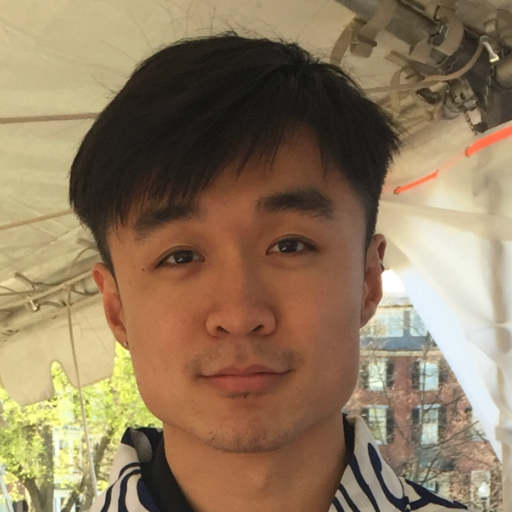
Here are the kind of images that I used to train my model:


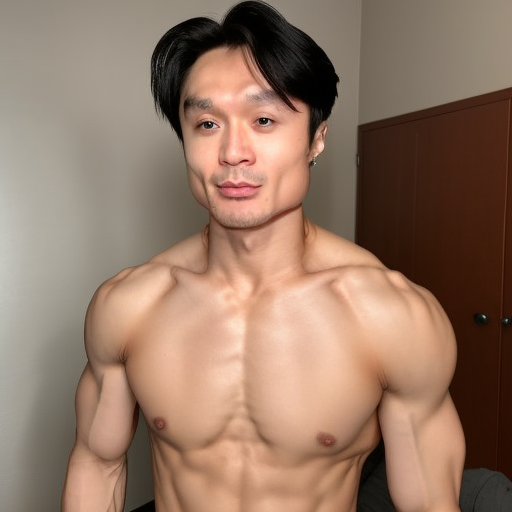
Here are some of the images my model generated:
In terms of model quality, I believe it is easier to create high quality models with JoePenna's Colab. TheLastBen repo is nice because it comes with a WebUI.
We will run TheLastBen in Google Colab, a service that lets you run Python code on Google's servers (You can download and run on your own computer, however you will need 24GB of VRAM for training - that's a 3090 or better).
To follow this guide, you will have to upgrade to Google Colab Pro for $10/mo, for access to more compute and better GPUs.
Collecting Images
Anywhere between 8-30 images will work well for Dreambooth.
In these training images, everything should be different except for the thing you want to train.
If you're training on you're own face, that means you should choose photographs of you with:
- different backgrounds
- different lighting conditions
- different angles
- different facial expressions
- wearing different clothing
The only thing that should be consistent is your face.
Choose images that are as close as possible to what you want the output to look like. If you want attractive generations, select photos where you look good!
Selfies are not the best images to use (they have a bit of a unnatural zoomed-in look), but they are acceptable.
Try to get the following images:
- 5-10 close-up on face (get close)
- 3-5 upper body
- 2-3 full body
Here are some examples with my pictures:


Next, you'll want to crop every image to 512x512 resolution.
Birme.net is a site that automates this. Open the link and then drag and drop all your images to the site:

Save these images into a folder and title the folder anything.
Next, you'll want to rename the images using the following convention:
TRIGGER (NUMBER).jpg
Where TRIGGER is the word you will use in your prompts to activate your face, and NUMBER is an ordered sequence starting from 1.
Whether you are using .jpg or .png does not matter, and you can use a mix of both.
I'll use my name as the TRIGGER so my images will be named:
yubinma (1).jpgyubinma (2).pngyubinma (3).jpg
And so on. Now we have our training images we can move on to the next step.

Training with TheLastBen's Colab
Open TheLastBen's Fast Stable Diffusion Colab.
It's much more straightforward than it looks.

The Play buttons run different blocks of code, called cells.
By running all of these cells in order, the notebook will do everything for you:
- Download required software
- Connect to Google Drive to find your training images
- Train a Dreambooth model based on your images.
Connect to Google Drive
Let's click the first one to connect to your Google Drive:

Click "Connect to Google Drive" on the popup.
Select your Google Account and click Allow when prompted.

Run through the rest of the cells
Let's run through the cells in order.
Most of the default options will serve you well. Below, I will write alternate options that you can consider in green.
- Run the Dependencies cell (click the play button). When cells are finished running there will be a seconds label under the green checkmark:

- Run the cell under Model Download header. If the Stable Diffusion v1.5 model is already downloaded to your Google Drive, you will not need to download it again.
- Under Dreambooth header:
- In Create/Load a Session cell, fill in the field
Session_Namewith the name of your model. If you do not specify this, your model will be called "none". I will call mine "test". Run this cell.
- Run the Instance Images cell, at the bottom you will see a button called Choose files. Click this and select all your training images:
- Skip the Captions cell
- Skip the Captions cell
- In Create/Load a Session cell, fill in the field
- Under Training header, click play for the cell. This will take the longest time of any step. Scroll to the bottom of the cell to view progress, and wait for the success message:
DONE, the CKPT model is in your Gdrive in the sessions folder - Under Test the Trained Model header, click play for the cell. When this part is complete, you will see a link to an interface that will let you test your model out. It will look like:
Running on public URL: http://e168583f-7aa6-48e8.gradio.liveClick this link


Test the model
Clicking on the link will open an interface you can test your model with.
It's important when you prompt you use your TRIGGER.
Try:
photo of a TRIGGER personA note on training steps
There is no "perfect number" of training steps. Everybody will have a different experience, based on their subject matter and their training data.
TheLastBen Colab defaults to 1500 training steps. This is a good benchmark to start. Research has found 800-1200 to be a "sweet spot" for faces.
What people usually do is train for a large number of steps, and then output along the way.
For example, somebody might train for 5k steps, and then output a model every 1k. They would end up with 1k, 2k, 3k, 4k, 5k models, and then test each one to see which is best.
In the Colab you can do this with the Save_Checkpoint_Every_n_Steps checkbox. Select this, and then write the steps per outputted model you want in Save_Checkpoint_Every.
Restarting the Colab with existing model
Let's say you've trained a model already and you want to test it with the Colab.
Now you can skip most of the steps.
These are the ones you still have to hit:
- Click Play for
from google.colab import drivesection, and re-connect to Google Drive - Click Play for Dependencies section
- (skip Model Download Header)
- Under the Dreambooth header:
- Create/Load a Session section, write your session name in
Session_Name(in Google Drive, sessions are stored underFast-Dreambooth/sessions). Run this cell.
- Create/Load a Session section, write your session name in
- Under the Training header:
- click play for the Start Dreambooth cell.
Downloading the Model
Trained models are placed in the Google Drive folder Fast-Dreambooth/Sessions. Look for the .ckpt file in this folder.
You can download this file to run locally with AUTOMATIC1111.
What are all of the options for Dreambooth Colab?
JoePenna, ShivamShrirao and TheLastBen are the most popular options. I recommend JoePenna for high quality and TheLastBen for being the most easy to use.
JoePennahttp://github.com/JoePenna/Dreambooth-Stable-DiffusionShivamShrirao
http://github.com/ShivamShrirao/diffusers/tree/main/examples/dreamboothTheLastBenhttp://github.com/TheLastBen/fast-stable-diffusionGammagechttp://github.com/gammagec/Dreambooth-SD-optimizedHuggingFacehttp://github.com/huggingface/diffusers/tree/main/examples/dreamboothkohya-sshttp://github.com/kohya-ss/sd-scriptsEveryDream2http://github.com/victorchall/EveryDream2trainerStableTunerhttp://github.com/devilismyfriend/StableTunerSD Webui Dreambooth Extensionhttp://github.com/d8ahazard/sd_dreambooth_extension